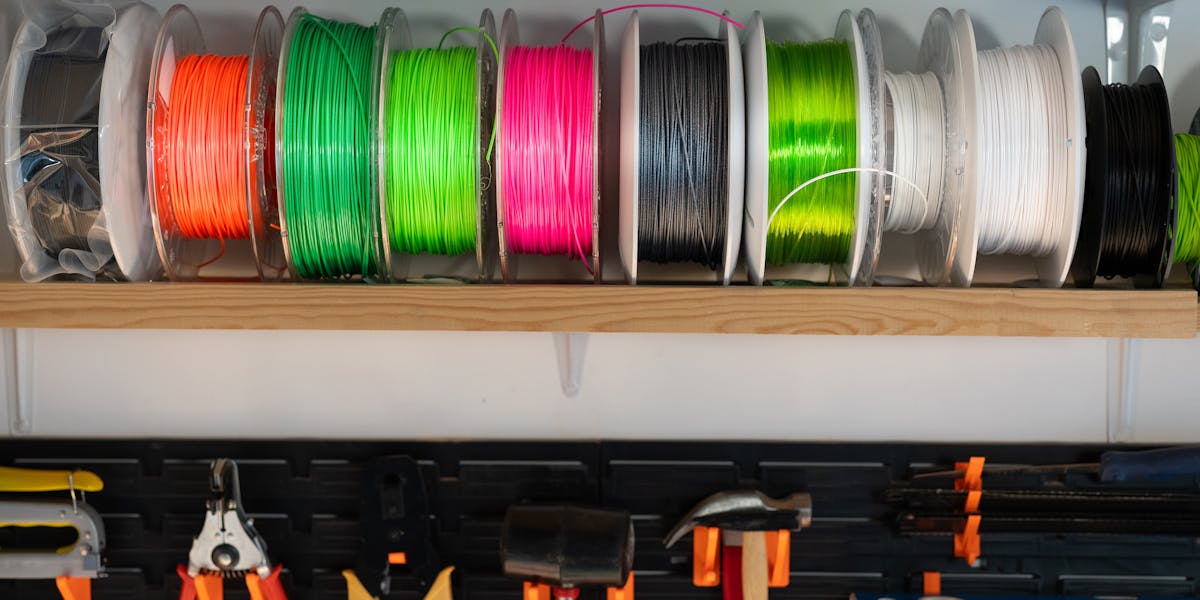
PLA vs PETG vs ABS: Materials Compared
Choosing the right 3D printing material is the single most important decision in your project. The wrong material means parts that warp, break, or fail in the field, while the right choice delivers parts that perform reliably for years. Here’s a practical guide to help Charlotte, NC businesses select the best material for their application.
One of the most common questions we get from clients is “which material should I use?” The answer depends on your application: what the part needs to do, what environment it lives in, and how long it needs to last. Here’s a straightforward guide to the most popular materials for functional 3D-printed parts.
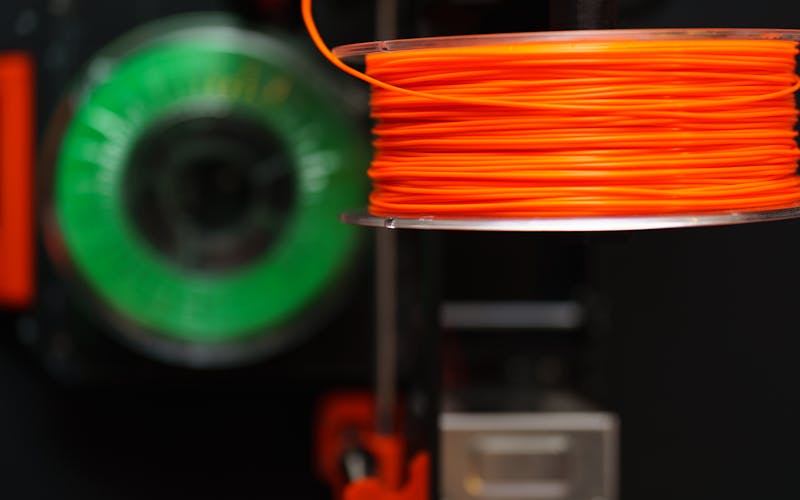
PLA: The All-Rounder
PLA (Polylactic Acid) is the most widely used 3D printing material, and for good reason. It prints with excellent dimensional accuracy, produces smooth surface finishes, and is available in a wide range of colors. It’s also biodegradable, which makes it a solid choice for teams that prioritize sustainability.
Best for: Visual prototypes, presentation models, packaging inserts, architectural scale models, and parts that won’t be exposed to heat above 60°C.
Watch out for: PLA is brittle compared to PETG and ABS, and it softens in direct sunlight or warm environments. It’s not the right choice for parts that need to survive real-world mechanical stress. Here in Charlotte, North Carolina, parts left in a car during summer will deform.
Typical applications we print for Charlotte clients: Marketing prototypes, trade show models, product mockups for investor meetings, and educational models.
PETG: The Functional Workhorse
PETG (Polyethylene Terephthalate Glycol) offers the best balance of printability and performance for most functional applications. It’s chemical-resistant, food-safe, and significantly tougher than PLA. Layer adhesion is excellent, which means parts are strong in all orientations.
Best for: Enclosures, brackets, jigs and fixtures, and any part that needs to handle impact, chemicals, or moderate heat (up to ~80°C).
Watch out for: PETG can string during printing, which sometimes requires extra post-processing. Surface finish is good but not quite as smooth as PLA.
Typical applications: Functional enclosures for electronics, manufacturing fixtures, water-resistant housings, and food-contact parts.
ABS/ASA: The Industrial Standard
ABS (Acrylonitrile Butadiene Styrene) has been the go-to material for injection-molded plastic parts for decades, and it performs well in 3D printing too. ASA is a UV-stable variant that’s ideal for outdoor use. Both offer excellent heat resistance and mechanical properties.
Best for: Automotive parts, outdoor enclosures, snap-fit assemblies, and any part exposed to temperatures above 80°C.
Watch out for: ABS and ASA require a heated build chamber for best results and can warp on large flat surfaces. They also produce fumes during printing, so proper ventilation is important.
Typical applications: Under-hood automotive components, outdoor signage mounts, industrial equipment covers, and high-temperature jigs.
Nylon: The Strength Champion
Nylon (PA6, PA12) offers the highest strength-to-weight ratio of any common 3D printing material. It’s exceptionally wear-resistant, self-lubricating, and can handle repeated mechanical stress without cracking.
Best for: Gears, hinges, snap fits, load-bearing brackets, and any part that experiences repeated stress or friction.
Watch out for: Nylon absorbs moisture from the air, which can affect print quality and dimensional stability. Parts should be stored in dry conditions, and filament must be dried before printing.
Typical applications: Machinery components, wear-resistant bushings, cable management clips, and structural brackets for Lake Norman, NC area manufacturers.
TPU: The Flexible Option
TPU (Thermoplastic Polyurethane) is a flexible, rubber-like material that bridges the gap between rigid plastics and silicone. It’s available in a range of shore hardnesses from soft and squishy to firm and springy.
Best for: Gaskets, seals, vibration dampeners, protective bumpers, phone cases, and any part that needs to flex or compress.
Watch out for: TPU prints slowly and requires careful tuning. Parts have lower dimensional accuracy than rigid materials, and overhangs are harder to support.
Resin: The Detail King
UV-cured resin offers the highest resolution and finest detail of any 3D printing process. It’s ideal for parts where surface finish and dimensional precision matter more than mechanical strength.
Best for: Jewelry prototypes, dental models, miniatures, and parts with very fine features (below 0.5mm).
Watch out for: Resin parts are generally more brittle than FDM parts and require UV post-curing. Build volumes are smaller, making it less suitable for large parts.
Material Comparison at a Glance
| Property | PLA | PETG | ABS/ASA | Nylon | TPU |
|---|---|---|---|---|---|
| Strength | Low-Medium | Medium-High | Medium-High | High | Medium |
| Heat Resistance | Low (60°C) | Medium (80°C) | High (100°C) | High (110°C) | Medium (80°C) |
| Flexibility | Brittle | Moderate | Moderate | Good | Excellent |
| Chemical Resistance | Low | High | Medium | High | High |
| Surface Finish | Excellent | Good | Good | Fair | Fair |
| Cost | $ | $$ | $$ | $$$ | $$ |
| Best For | Prototypes | Functional parts | Industrial use | High-stress parts | Flexible parts |
Which Material Should You Choose?
Here’s a quick decision guide:
- “I need a prototype for a meeting or presentation” → PLA. Best surface finish, lowest cost.
- “The part needs to work in the real world” → PETG. Best all-around functional material.
- “It’ll be outside or in a hot environment” → ASA (outdoor) or ABS (indoor high-temp).
- “It needs to survive heavy use and mechanical stress” → Nylon.
- “It needs to flex, compress, or seal” → TPU.
- “I need ultra-fine detail” → Resin.
Deep-Dive Material Guides
Want the full details on a specific material? Read our individual guides:
- PLA Guide — Complete guide to PLA properties, applications, and design tips
- PETG Guide — Everything you need to know about PETG for functional parts
- ABS Guide — Heat resistance, vapor smoothing, and industrial applications
- ASA Guide — UV-stable material for outdoor and weather-exposed parts
- TPU Guide — Flexible printing for gaskets, grips, and vibration dampening
- Resin Guide — Ultra-fine detail for miniatures, jewelry, and precision work
Not Sure? Let Us Help
Every project is different. If you’re not sure which material is right for your application, send us your part files and a description of what it needs to do. We’ll recommend the best option and explain the trade-offs so you can make an informed decision. You can also review our design guide for tips on optimizing your part design for 3D printing.
For Charlotte, NC and Lake Norman businesses, we offer free in-person consultations where we can review your application requirements and recommend the best material and process for your project. We serve the entire North Carolina Piedmont region with local delivery available.
Related Articles
3D Printing File Formats Explained
STL, OBJ, STEP, or 3MF? Learn which 3D file format works best for your printing project and why it matters.

Resin 3D Printing Guide: SLA and MSLA
Resin 3D printing delivers the highest detail and smoothest surface finish of any 3D printing process. Learn about resin types, applications, and when SLA printing is right for your Charlotte, NC project.
TPU 3D Printing Guide: Flexible Parts
TPU is the go-to flexible 3D printing material for gaskets, grips, bumpers, and wearables. Learn about TPU properties, Shore hardness, and when to choose it for your Charlotte, NC project.