Photo by Deybson Mallony on Pexels
Design Rules That Save Money on 3D Prints

Design Rules That Save Money on 3D Prints
Every business wants to reduce manufacturing costs without sacrificing quality. When it comes to 3D printing, the design phase offers the biggest opportunity for savings. Smart design decisions can cut your per-part costs by 30-50% through reduced material usage and shorter print times.
The secret isn’t complex - it’s knowing which design features drive costs up and how to optimize them. We see businesses transform their unit economics by applying a few fundamental design principles before sending files to print. Whether you’re prototyping a new product or producing small batches, these rules will help you get more value from every print job.
Why Wall Thickness Matters More Than You Think
Wall thickness directly impacts both material usage and print time. A part with 3mm walls uses significantly more plastic than one with properly optimized 2mm walls, yet often provides no additional functional benefit.
Standard FDM printers create walls using perimeter passes. Each perimeter is typically 0.4mm wide (with a standard nozzle). This means a 2mm wall requires 5 perimeter passes, while a 3mm wall needs 7-8 passes. Those extra passes add up quickly across an entire part.
For most applications, walls between 1.2-2.0mm provide excellent strength. Going thicker rarely improves performance but always increases cost. The exception? Parts under heavy mechanical stress or requiring specific compliance standards. Even then, strategic reinforcement beats uniform thick walls.
Strategic Hollowing Without Sacrificing Strength
Solid parts waste material in areas that contribute little to structural integrity. The interior of most parts can be hollowed out or filled with minimal infill without compromising strength.
Consider a simple enclosure design. A solid-printed electronics enclosure might use 150g of material. The same enclosure with 2mm walls and 20% infill could use just 60g - a 60% material reduction. Print time drops proportionally, often cutting a 6-hour print to under 3 hours.
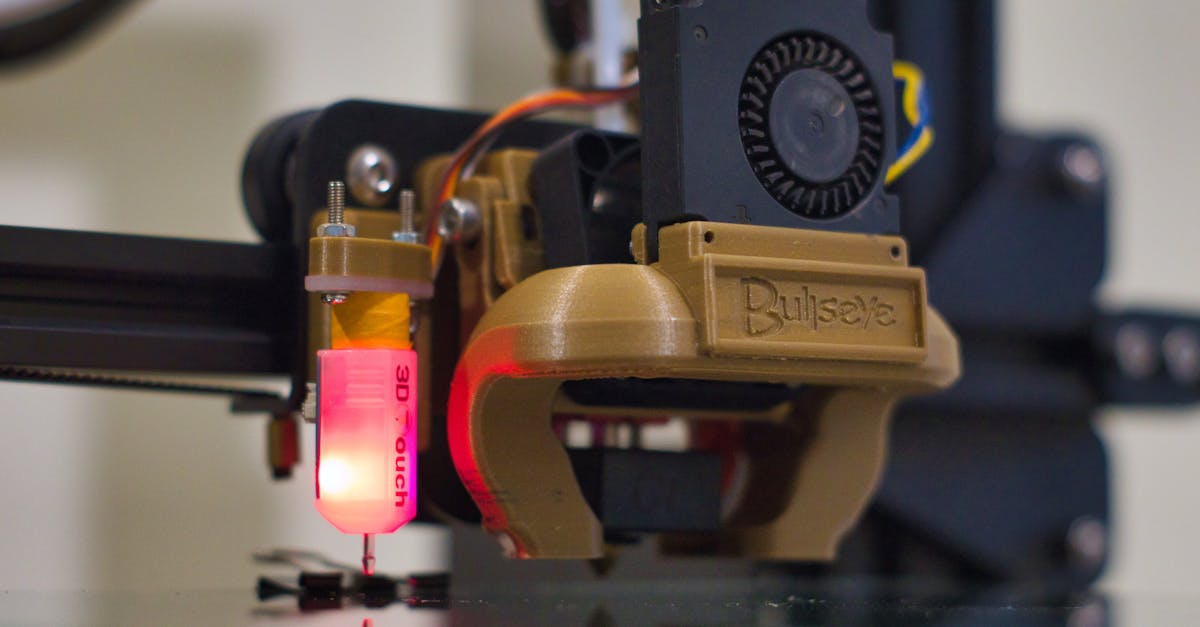
Photo by Kuba Grzybek on Pexels
Key hollowing guidelines:
- Maintain 1.5-2mm minimum wall thickness
- Add internal ribs or gussets at stress points
- Use honeycomb or gyroid infill patterns for optimal strength-to-weight
- Include drain holes for resin printing to prevent trapped liquid
Smart Support Structure Planning
Support material is pure waste - you pay for plastic that gets thrown away. Designing parts to minimize or eliminate supports delivers immediate cost savings.
The 45-degree rule is your friend. FDM printers can successfully print overhangs up to 45 degrees without support. Designing chamfers and angled transitions instead of sharp 90-degree overhangs eliminates most support needs.
Consider orientation carefully. A part that requires extensive supports when printed upright might print support-free when rotated 90 degrees. Yes, this might increase the footprint on the build plate, but the material savings usually outweigh the slightly longer print time.
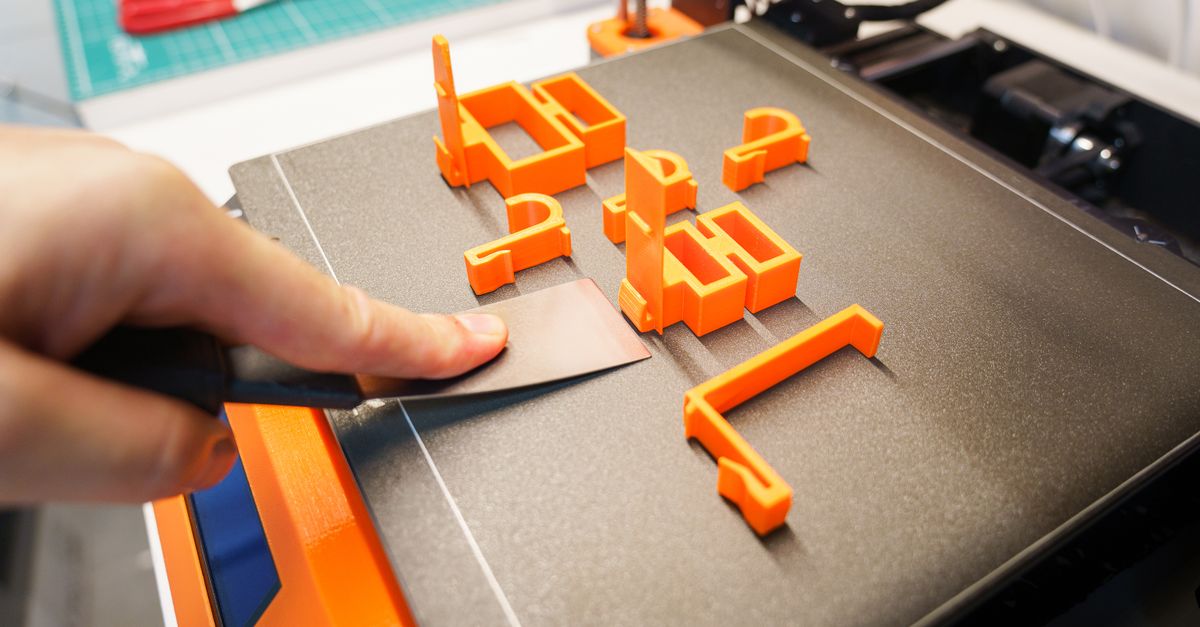
Part Consolidation Opportunities
Traditional manufacturing often requires assembling multiple components due to tooling limitations. 3D printing enables part consolidation that can dramatically reduce total costs.
Instead of printing five separate pieces that need assembly, can you print one integrated part? This saves material from overlapping connection points, eliminates assembly labor, and often creates a stronger final product.
Common consolidation opportunities:
- Snap-fit features instead of separate fasteners
- Living hinges instead of multi-part assemblies
- Integrated mounting bosses instead of separate brackets
- Combined housings that eliminate gaskets and seals
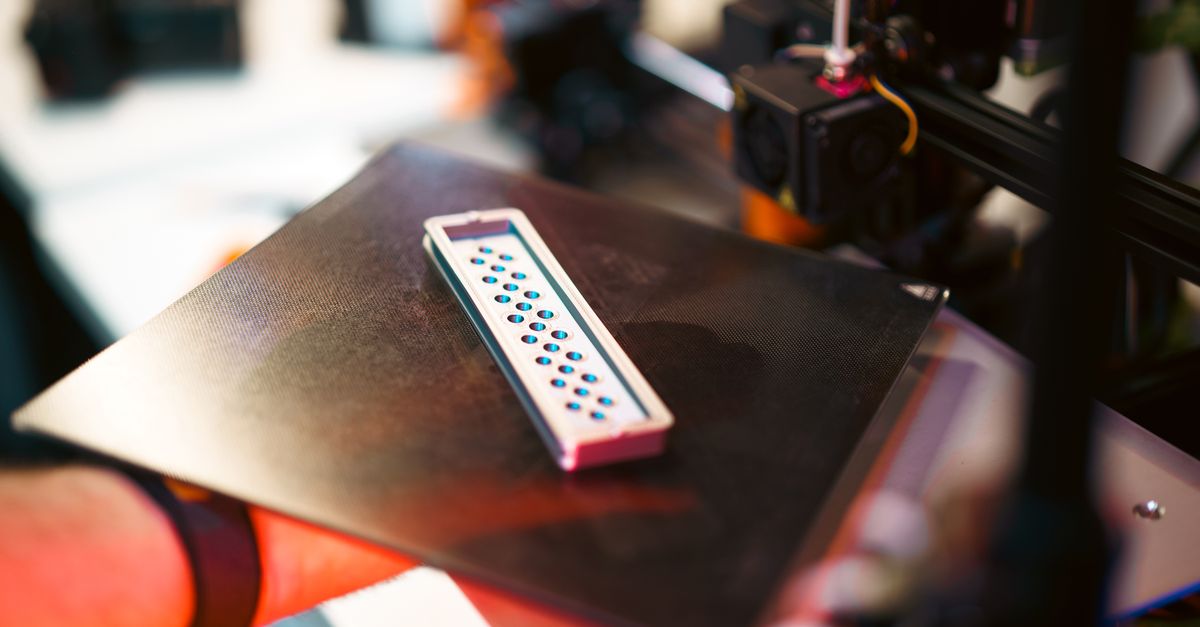
Size Optimization for Batch Production
Build plate utilization becomes critical when producing multiple parts. A 5% reduction in part size might allow 6 parts per build instead of 4, effectively reducing per-unit costs by 33%.
Examine your design for unnecessary bulk. Can mounting tabs be smaller? Do all walls need uniform thickness, or can non-critical areas be thinned? Small optimizations compound quickly in production runs.
We often see designs with “comfort margins” - extra material added “just in case.” Test your actual requirements. That 5mm mounting boss might work perfectly well at 3mm, and those savings multiply across every unit.
Hidden Cost Drivers to Eliminate
Some design features disproportionately increase print costs without adding value:
Unnecessary tight tolerances. Specifying ±0.05mm tolerance on non-critical dimensions forces slower print speeds and higher quality settings. Reserve tight tolerances only for functional interfaces.
Small unsupported features. Tiny details often require support structures many times their own volume. A 2mm decorative overhang might need 20mm of support structure beneath it.
Excessive infill in low-stress areas. Default settings often use 20-30% infill throughout an entire part. Strategic infill variation - using denser infill only where needed - can cut material usage significantly.
Material Selection Impact on Design
Your material choice influences optimal design parameters. PLA and PETG - our primary materials - have different characteristics that affect design decisions.
PLA prints with excellent detail but lower strength. You might need slightly thicker walls or higher infill percentages for load-bearing applications. Its lower printing temperature enables faster speeds, partially offsetting the material increase.
PETG offers superior strength and flexibility. Parts can often use thinner walls and lower infill while maintaining durability. The material costs slightly more per kilogram, but the design optimization potential often results in lower total part cost.
For specialized needs, materials like ABS, ASA, or Nylon have their place, but design optimization becomes even more critical given their higher material costs.
Testing and Iteration Strategies
The path to optimized designs runs through intelligent prototyping. Rather than perfecting a design in CAD, print test sections to validate your assumptions.
Print critical features in isolation first. Need to test snap-fit tolerances? Print just the connection interface, not the entire assembly. Validating wall thickness? Create small test coupons with various thicknesses.
This approach typically costs 90% less than printing full prototypes for each iteration. You’ll reach optimal designs faster while spending less on development.
Ready to Optimize Your Designs?
Design optimization transforms 3D printing from an expensive prototyping tool into a cost-effective production method. The rules aren’t complicated - they just require thoughtful application during the design phase.
Need help optimizing your parts for cost-effective 3D printing? Our custom design services team can review your existing designs or help create new ones optimized for FDM production. We’ll show you exactly where to save material and time without compromising functionality.
Start your project today and see how design optimization can cut your per-part costs while maintaining quality.
Learn More About 3D Printing for Business
Related Articles
Waterproofing 3D Prints: Methods & Materials
Learn proven techniques to make FDM 3D printed parts waterproof for outdoor and liquid-contact applications.
3D Printing Validation Testing Guide
Master validation testing for 3D printed parts with dimensional checks, strength tests, and material verification methods.

Cost-Per-Part Calculator for 3D Printing
Master the hidden variables that determine your true 3D printing costs and make smarter sourcing decisions.