
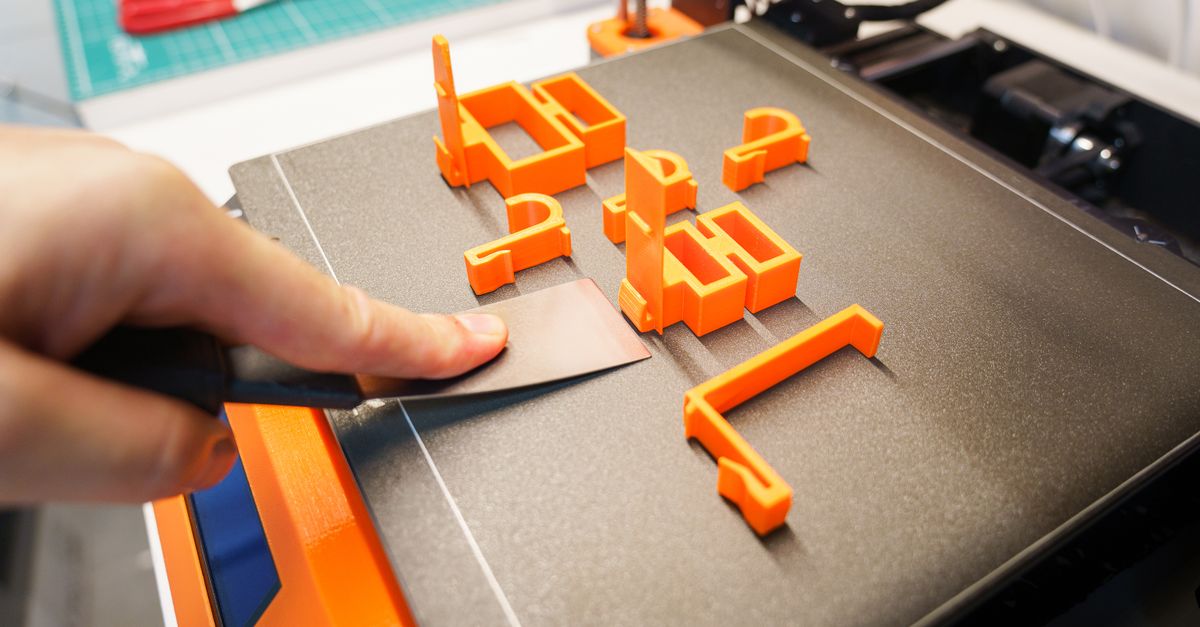
Photo by Jakub Zerdzicki on Pexels
Spring Cleaning Your 3D Print Files

Spring arrives in Charlotte next month, and while you’re thinking about tidying up the office, don’t forget about your digital workspace. If you’re like most of our clients, you’ve accumulated dozens — maybe hundreds — of CAD files, STL exports, and various iterations of prototypes scattered across shared drives, email attachments, and desktop folders.
A messy file system costs more than you think. We’ve seen engineers spend hours searching for “the right version” of a part, only to accidentally send us an outdated file for printing. The result? Wasted material, delayed timelines, and frustrated teams. Let’s fix that before your next rapid prototyping project.
Why File Organization Matters for 3D Printing
When you send files to a 3D printing service, clarity is everything. We process hundreds of files each month at CLT 3D Printing, and the difference between organized and chaotic file management directly impacts project success.
Version control prevents expensive mistakes. Last week, a Mooresville manufacturer sent us files for a production run of 50 automotive brackets. Halfway through printing, they realized they’d sent version 1.2 instead of the final 1.7 design. The mounting holes were in the wrong position. That’s $800 in PETG material and two days of machine time that could have been saved with proper file naming.
Clear file organization also speeds up communication. When you need a quote for small-batch production, being able to quickly locate and share the correct files means faster turnaround times. We can start analyzing your parts for printability while competitors are still waiting for clarification on which file is current.
The Anatomy of a Well-Named 3D Print File
Start with a descriptive part name. Skip generic names like “bracket” or “prototype.” Instead, use specific identifiers: “motor-mount-bracket” or “control-panel-bezel.” This helps everyone — from your team to your printing service — immediately understand what they’re looking at.
Include version numbers in your filename, not just your CAD software’s internal versioning. A format like “motor-mount-bracket-v3-2.stl” tells us this is version 3.2 of your design. When you email asking about changes between versions, we can quickly reference the right files.

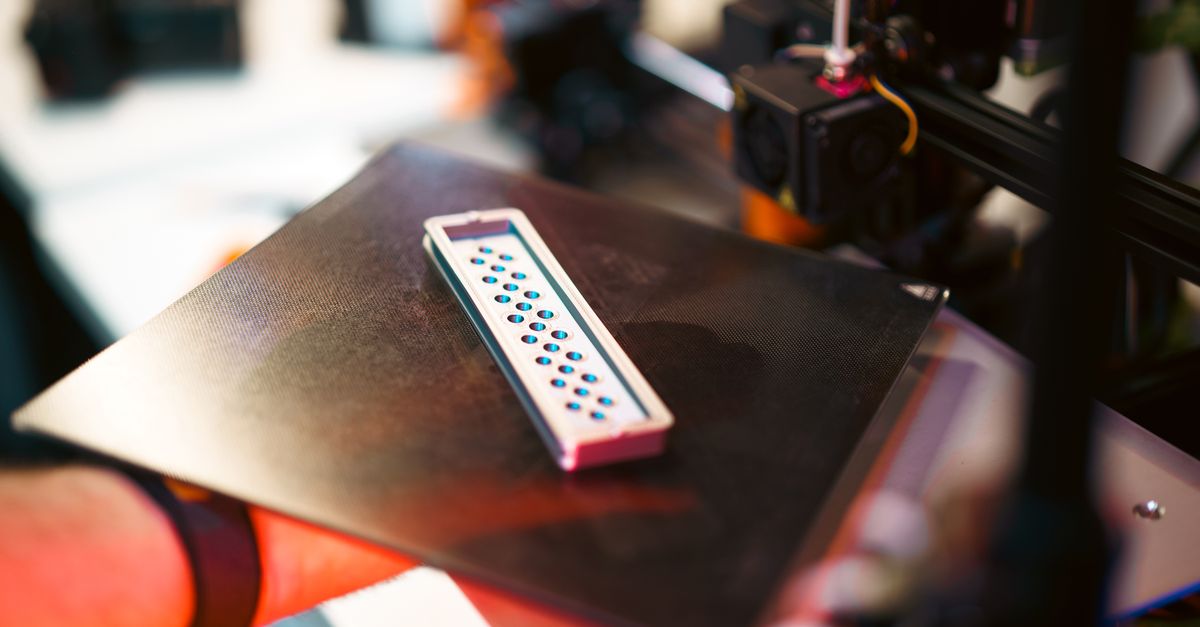
Photo by MART PRODUCTION on Pexels
Add dates for time-sensitive projects. For parts that evolve rapidly during development, include the date: “motor-mount-bracket-v3-2-2026-02-23.stl”. This becomes invaluable when troubleshooting issues months later or when revisiting designs for custom design services.
Material specifications in filenames save time too. If you’ve already determined this part needs ASA for UV resistance or TPU for flexibility, add it: “motor-mount-bracket-ASA-v3-2.stl”. Your 3D printing service can immediately quote the right material without back-and-forth clarification.
Creating a Folder Structure That Scales
Organize by project, not by file type. Instead of having one massive “STL Files” folder, create project-specific folders. Each project folder should contain all related files: CAD originals, STL exports, technical drawings, and any reference images.
A typical structure might look like:
- ClientName-ProjectName-2026/
- CAD-Files/
- STL-Exports/
- Documentation/
- Previous-Versions/
This system scales beautifully. Whether you’re prototyping drone parts or developing manufacturing tooling and fixtures, each project stays contained and searchable.
Archive old versions, don’t delete them. That “Previous-Versions” folder serves a crucial purpose. Sometimes you need to reference why a design changed, or a client wants to revert to an earlier iteration. We’ve had Charlotte startups come back two years later wanting to reproduce an early prototype for comparison. Those who maintained archives could fulfill the request immediately.
Standardizing Material and Print Settings Documentation
Beyond the files themselves, document your material choices and print requirements. Create a simple text file or spreadsheet in each project folder listing critical specifications.
Document these key parameters:
- Intended material (PLA, PETG, ABS, etc.)
- Required tolerances for critical dimensions
- Infill percentage if you have specific strength requirements
- Layer height preferences (0.2mm standard, 0.1mm for fine details)
- Post-processing needs (sanding, vapor smoothing, painting)
This documentation becomes invaluable when transitioning from prototyping to production. When you’re ready to scale up from 5 prototypes to 500 units, having these specifications documented helps maintain consistency across batches.
Implementing Version Control Best Practices
Major versus minor revisions need different treatment. Use the first digit for major design changes (v1 to v2) and the decimal for minor tweaks (v1.1 to v1.2). When you completely redesign a motor mount’s attachment method, that’s a major revision. When you increase a mounting hole diameter by 0.5mm, that’s minor.
Lock files once they go into production. If we’re printing 100 units for your small-batch production run, that file version should be archived and protected. Create a “Production-Files” folder with read-only permissions to prevent accidental modifications.
Date-stamp your changelog. Maintain a simple text file logging what changed between versions:
2026-02-23 - v3.2 - Increased wall thickness to 3mm for strength
2026-02-20 - v3.1 - Added chamfers to mounting holes
2026-02-15 - v3.0 - Complete redesign for injection molding compatibility
Cloud Storage and Collaboration Strategies
Modern 3D printing workflows often involve multiple team members across different locations. Charlotte’s growing tech scene means your mechanical engineer might be in Ballantyne while your designer works from Cornelius.
Choose a cloud platform that handles large files well. STL files for complex parts can exceed 100MB. Google Drive, Dropbox, and OneDrive all work, but ensure your team has sufficient storage and bandwidth. We’ve seen projects stall because someone’s trying to upload a 500MB assembly file over coffee shop WiFi.
Set up shared folders with clear permissions. Your 3D printing service needs read access to final files, but probably shouldn’t be able to modify your CAD originals. Create a dedicated “For-Printing” folder where you place only finalized, ready-to-print STL files.
Preparing Files for Long-Term Archive
Think five years ahead. The automotive restoration parts you prototype today might need reproduction runs for years to come. Archive not just the STL, but also the original CAD files, material specifications, and any special printing instructions.
Consider file format longevity. While STL is the current standard for 3D printing, also save your designs in neutral CAD formats like STEP or IGES. These preserve more design information and ensure future compatibility as software evolves.
Create a master index. As your project library grows, maintain a spreadsheet listing all projects, their locations, key specifications, and project outcomes. Include columns for:
- Project name and date
- Client/department
- Material used
- Quantity produced
- File location
- Special notes
This index becomes invaluable when you need to reference successful past projects or quote similar work.
Spring into Action
Organizing your 3D printing files isn’t just about tidiness — it’s about efficiency, accuracy, and professionalism. Every minute saved searching for files is a minute gained for design iteration. Every correctly versioned file prevents costly reprints.
Start small if the task feels overwhelming. Pick your five most active projects and implement these naming conventions and folder structures. As new projects begin, build them properly from the start. Within a few months, you’ll have transformed your digital workspace.
Ready to put your newly organized files to work? Upload your properly named, well-documented designs for a quote at CLT 3D Printing’s custom order page. We appreciate clients who make our job easier with clear file management — and we often reflect that appreciation in faster turnaround times.
Related Resources:
Related Articles
Waterproofing 3D Prints: Methods & Materials
Learn proven techniques to make FDM 3D printed parts waterproof for outdoor and liquid-contact applications.
3D Printing Validation Testing Guide
Master validation testing for 3D printed parts with dimensional checks, strength tests, and material verification methods.

Cost-Per-Part Calculator for 3D Printing
Master the hidden variables that determine your true 3D printing costs and make smarter sourcing decisions.