
Photo by Jakub Zerdzicki on Pexels
Breaking the Prototype-to-Production Barrier

Breaking the Prototype-to-Production Barrier
You’ve validated your design with a perfect prototype. The fit is right, the function works, and everyone’s excited. But now comes the hard question - how do you move from that single successful prototype to reliable production parts? This transition trips up more projects than any other phase in the 3D printing process.
The gap between prototype and production isn’t just about quantity. It’s about consistency, cost-effectiveness, and manufacturing readiness. Understanding these differences can save you thousands of dollars and weeks of delays.
Why Prototypes Don’t Always Scale
Prototype success doesn’t guarantee production viability. A prototype proves your concept works once. Production demands it works every time, at scale, within budget. The materials, tolerances, and processes that worked for your prototype might need complete rethinking for production runs.
Consider a common scenario: your prototype printed beautifully in PLA with 50% infill and took 6 hours. That same approach for 100 units means 600 hours of print time - likely making the project economically unfeasible. Production thinking requires different optimization strategies.
Material selection often changes between prototype and production phases. While PLA works wonderfully for form and fit testing, production parts might need PETG’s chemical resistance or ABS’s heat tolerance. These materials print differently, requiring adjustments to your design and expectations.
Design Optimization for Production
Production-ready designs minimize print time without sacrificing function. Every minute saved per part multiplies across your production run. A 10-minute reduction on a 100-piece order saves over 16 hours of production time.
Wall thickness optimization makes a massive difference. Prototypes often use default settings - typically 3-4 perimeter walls. Production parts might achieve the same strength with 2 walls and strategic infill patterns. Testing these variations during the transition phase prevents surprises later.
Photo by Jakub Zerdzicki on Pexels
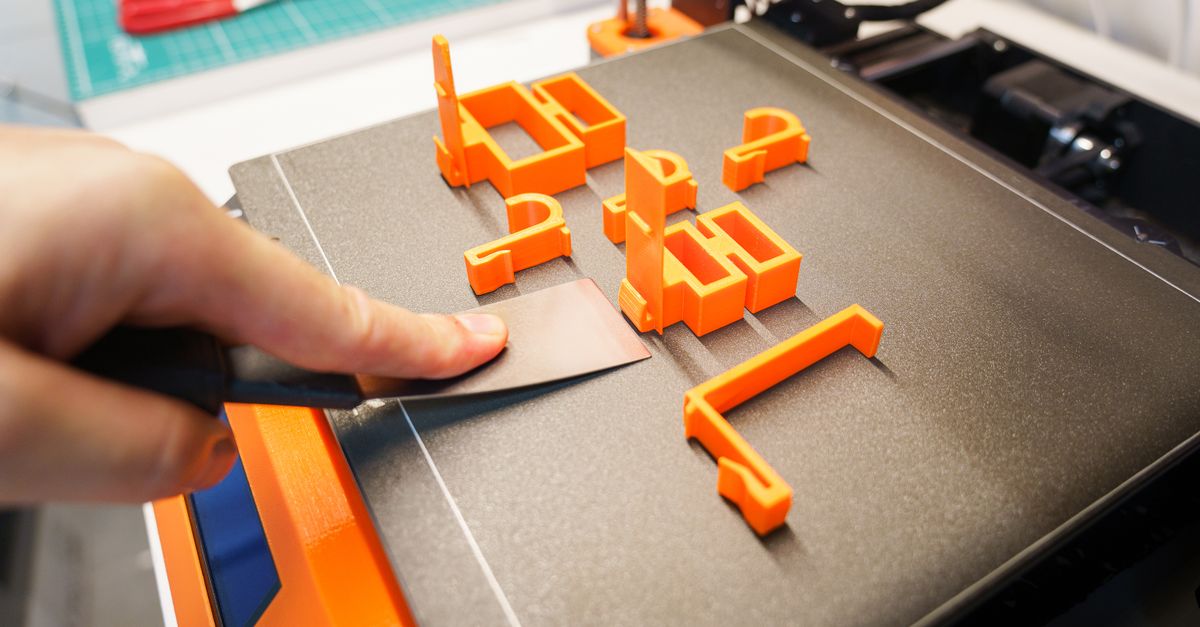
Part orientation becomes critical at scale. That perfect surface finish on your prototype might have required supports that add 30 minutes per part. Redesigning to print support-free, even if it means splitting the part into two pieces, often reduces total production time and cost.
The Testing Bridge
Never jump straight from one prototype to full production. The smart path includes what we call “beta batches” - small runs of 5-10 parts that test your production parameters. These reveal issues that single prototypes hide.
First-article inspection becomes your best friend during this phase. Measure critical dimensions on multiple parts printed with your production settings. Variations that seemed negligible on one prototype might compound across a batch. Temperature fluctuations, material batch differences, and machine calibration all affect consistency.
Environmental testing at this stage saves headaches later. If your parts will face outdoor conditions, test samples with your production material choice. PETG might handle UV exposure better than PLA, but only real-world testing confirms this for your specific application.
Cost Structures That Make Sense
Production pricing works differently than prototype pricing. Single prototypes carry the full burden of setup time, design verification, and initial testing. Production runs spread these costs across multiple units, but introduce new considerations.
Material efficiency becomes paramount. That complex support structure acceptable for one prototype wastes significant material across 100 parts. Smart production design minimizes waste while maintaining quality. Sometimes a slight design modification saves 20% on material costs.
Consider post-processing time in your calculations. Hand-finishing one prototype takes 30 minutes? That’s 50 hours for 100 parts - often more expensive than the printing itself. Production-ready designs minimize or eliminate post-processing needs.
Quality Control at Scale
Consistency matters more than perfection in production. Your prototype might have been meticulously finished to impress stakeholders. Production parts need repeatable quality that meets specifications every time.
Develop clear pass/fail criteria before starting production. Which dimensions are critical? What surface finish is acceptable? Document these standards to ensure consistent evaluation across your entire run. Photos of acceptable and unacceptable parts help maintain standards.
Batch tracking becomes essential for larger runs. If something goes wrong with part 67 of 100, you need to know which material batch, what printer settings, and which machine produced it. Simple documentation prevents major quality issues from spreading through your entire order.
Timeline Realities
Production takes longer than multiplying prototype time. A 6-hour prototype doesn’t mean 100 parts take 600 hours of straight printing. Machines need maintenance, quality checks take time, and some parts will need reprinting.
Build buffer time into your production schedule. Industry standard suggests adding 15-20% to your calculated print time for quality control, machine maintenance, and the occasional failed print. This buffer prevents last-minute scrambles when (not if) something goes wrong.
Consider production batching strategies. Running all 100 parts consecutively might seem efficient, but breaking into smaller batches allows for mid-run adjustments and reduces the impact of any quality issues. Many successful projects run 20-25 parts, evaluate, adjust if needed, then continue.
Material Certification Needs
Production parts often require documentation that prototypes don’t. Your prototype proved the concept; production parts might need material traceability, especially for regulated industries.
Understand your documentation requirements early. Some industries need material safety data sheets, others require certificates of conformance. These aren’t last-minute additions - they influence your material selection and supplier choice from the beginning.
Keep samples from each production batch. These reference parts help resolve any future questions about quality or specifications. Storage is cheap compared to the cost of reproducing parts months later for verification.
When to Reconsider Your Approach
Sometimes the best production method isn’t 3D printing. This might sound counterintuitive from a 3D printing service, but honesty builds trust. Your successful 3D printed prototype might point toward injection molding for high-volume production.
The crossover point varies by part complexity. Simple geometries might favor traditional manufacturing beyond 500-1000 units. Complex parts with internal channels or customization needs might stay cost-effective with 3D printing even at higher volumes. Our 3D Printing vs Injection Molding for Small Batches guide explores these trade-offs in detail.
Bridge production offers a middle ground. Use 3D printing for initial market entry while tooling up for traditional manufacturing. This approach reduces risk and provides real market feedback before major capital investment.
Making the Transition Successfully
Moving from prototype to production requires different thinking, not just more printing. Success comes from understanding these differences early and planning accordingly. The most successful projects we see treat the transition as a distinct phase, not an afterthought.
Ready to scale your prototype into production? Whether you need 10 parts or 1,000, we’ll help you optimize your design for efficient manufacturing. Our production planning consultation identifies potential issues before they become expensive problems.
Get your production scaling strategy right from the start. Upload your prototype files for a free production feasibility review at CLT 3D Printing’s custom order page.
Related Resources
Related Articles
Waterproofing 3D Prints: Methods & Materials
Learn proven techniques to make FDM 3D printed parts waterproof for outdoor and liquid-contact applications.
3D Printing Validation Testing Guide
Master validation testing for 3D printed parts with dimensional checks, strength tests, and material verification methods.

Cost-Per-Part Calculator for 3D Printing
Master the hidden variables that determine your true 3D printing costs and make smarter sourcing decisions.