
Photo by Jakub Zerdzicki on Pexels
Designing Living Hinges for FDM 3D Printing

A living hinge is a thin, flexible section of plastic that connects two rigid sections and lets them fold against each other. No pin, no separate hinge hardware, no assembly. In injection molding, polypropylene living hinges are everywhere, from flip-top bottle caps to tool cases. People often ask whether the same trick works in FDM 3D printing. It can, but only if you design for how layered plastic actually behaves. A living hinge that ignores layer direction, material choice, and thickness will crack the first time someone opens it.
This guide covers the practical design rules we use when evaluating living hinge parts for FDM, which materials suit them, and when you are better off choosing a different hinge style entirely.
What Is a Living Hinge, and Why Use One in a 3D Printed Part?
A living hinge relies on a thin web of material that bends repeatedly instead of breaking. The appeal is simple: fewer parts, fewer fasteners, and no separate hinge pin to source or lose.
Part count drops. A lid and base joined by a living hinge print as one piece. That removes pins, screws, and an assembly step, which matters most when you are producing dozens or hundreds of units through small-batch production. This is the same logic behind part consolidation, where merging components into one print cuts labor and failure points.
Prototyping gets faster. A one-piece hinged design can be printed, tested, and revised in a single day of iteration. If you are exploring a product concept, a hinged enclosure or case can be tested for fit and feel before you commit to tooling.
There is nothing to wear loose. Pin hinges develop slop over time. A living hinge has no sliding surfaces, so it does not loosen. It does, however, fatigue, which is the central design challenge.
Which Materials Work for Living Hinges in FDM?
Material choice decides whether your hinge lasts ten flexes or a few hundred. We print primarily in PLA and PETG, so here is an honest comparison.
PLA: Fine for One-Time Bends, Poor for Repeated Use
PLA is stiff and relatively brittle. A thin PLA hinge may flex a few times, but fatigue cracks tend to appear quickly. If a design only needs to bend once during assembly, or a handful of times in its life, PLA can work. For anything opened daily, it is the wrong choice. See our PLA guide for more on where it shines instead.
PETG: The Practical Choice for Most FDM Living Hinges
PETG has more elongation before break than PLA and tolerates repeated bending better. It is not polypropylene, and you should not expect injection-molded hinge life, but it is a reasonable choice for lids, covers, and clips that open occasionally. It also resists moisture and many chemicals better than PLA, as covered in our PETG material guide.
Other Materials We Can Print
Nylon and TPU are both more flexible and fatigue-resistant than PLA or PETG, and we can print in them when a project calls for it, though they are not our daily-driver materials. TPU also opens the door to a rigid-body-plus-flexible-hinge approach if the application justifies it. For a broader comparison, our PLA vs PETG vs ABS post covers the trade-offs among the common options.
How Should You Orient a Living Hinge on the Print Bed?
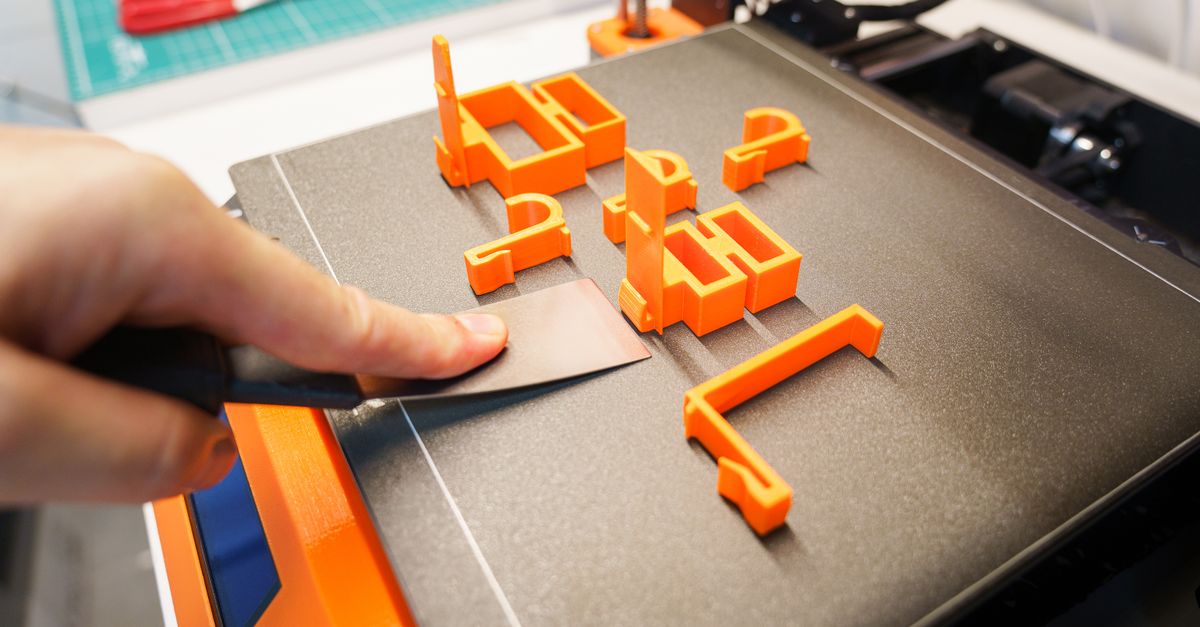
Orientation is the single most important decision for hinge durability. FDM parts are strong along the extruded lines and weaker between layers. A hinge that bends in a way that tries to peel layers apart will fail early.
Photo by Jakub Zerdzicki on Pexels
Print the hinge flat. Lay the part on the bed so the thin hinge strip is parallel to the build plate. The strip’s thickness then runs in the Z direction, and the bending stress runs along the extruded lines, not across layer boundaries.
Keep extrusion lines continuous across the hinge. The filament paths should run from the rigid body on one side, across the thin strip, and into the rigid body on the other side. If the slicer breaks those paths into short segments or fills the hinge with a different pattern, you create weak points right where the stress concentrates.
Never stand the hinge upright. If a hinge is printed with its flex axis perpendicular to the layers, bending forces will try to separate layers. That is how you get a clean, immediate snap. Our part orientation guide goes deeper on how orientation changes strength.
What Dimensions Make a Living Hinge Work?
Exact numbers depend on material, nozzle, and part size, so treat these as starting points for test prints rather than guarantees.
Thickness. Most FDM living hinges land in the range of roughly 0.4 to 0.8 mm. Thinner bends more easily and lasts longer, but too thin and you risk gaps between extrusion lines. With a 0.4 mm nozzle and a 0.2 mm layer height, a thickness of about 0.6 mm gives you three layers of continuous plastic, which is a workable baseline.
Bend zone length. A hinge that is too short concentrates strain in a tiny area. Spreading the bend over a zone of a few millimeters lowers strain at any single point. Longer, gentler bend zones generally outlast short, sharp ones.
Transitions. Add generous fillets or tapered transitions where the thin hinge meets the thick body. A sharp step is a stress riser, and cracks start there. Our design rules that save money on 3D prints cover this principle in more general terms.
Wall settings. For a hinge this thin, you want the slicer to lay down solid perimeter lines rather than sparse infill. Infill pattern is irrelevant at 0.6 mm thickness, but wall count and line width are not. Check the sliced preview to confirm the hinge is solid. For more on why walls matter, see infill vs walls.
Width. A wider hinge spreads load and resists twisting. Narrow hinges concentrate stress and let the lid rack sideways. Many designs use two or more shorter hinge segments along the edge rather than a single narrow strip.
How Do You Prototype and Test a Living Hinge?
Because results vary with printer, filament batch, and settings, test before you commit to a design.
Print a hinge test strip. Make a coupon with several hinge thicknesses, for example 0.4, 0.6, 0.8, and 1.0 mm, on the same part. Flex each one repeatedly and compare. This is cheap, quick, and tells you more than any rule of thumb. It also works well alongside the approaches in our prototype testing methods post.
Define the cycle target. Decide how many open-close cycles the part needs. A device opened once per install is a different problem from a case opened ten times a day. Setting that target early determines whether a living hinge is realistic at all.
Test in real conditions. Cold temperatures make plastics less ductile, and heat can soften them. PLA starts softening at around 55 to 60 C, which can happen inside a parked car. If your part will live somewhere hot or cold, test it there.
Avoid bending the hinge during post-processing. Sanding, priming, and painting can add thickness or stiffen the hinge. Thick paint can crack as it flexes. If cosmetic finishing matters, plan it with the hinge zone masked. Our finishing standards post covers general finishing considerations.
When Should You Skip the Living Hinge?
A living hinge is not always the right answer. Consider an alternative if:
- The hinge must survive thousands of cycles. A pin hinge or metal hardware will last far longer.
- The lid carries significant load or must hold tight tolerances.
- The part must be PLA and will be opened frequently.
- The hinge sits in a high-heat environment where your chosen plastic would creep or soften.
Print-in-place pin hinges are one option. They use a printed pin captured inside a barrel with clearance, typically a few tenths of a millimeter, so the hinge moves right off the printer. Our tolerance guide explains the clearances you need to plan for. Separate hinge pins made of steel or brass rod are another, and they pair well with heat-set inserts for threaded attachment points. For lids that only need to close securely, a snap fit may be simpler.
Getting Help With Hinged Designs
If you have a concept for a hinged enclosure, case, or fixture cover but are not sure the geometry will hold up, our custom design services can help translate it into a printable model. For early concept validation, rapid prototyping lets you test hinge variations quickly before locking in a design.
Ready to Print a Part With an Integrated Hinge?
Send us your CAD file or a description of what you are trying to build, and we will tell you honestly whether a living hinge is a good fit, which material makes sense, and what test prints to run first. We print in PLA and PETG daily, and we can discuss other materials like nylon or TPU if your application needs them.
Start your project at /custom-order
Related Reading
Related Articles

3D Printed Molds and Casting Patterns
3D printed molds and casting patterns let you make silicone, urethane, and thermoformed parts without steel tooling. Here is what works and what does not.
3D Printed Shop Floor Organizers for 5S
3D printed shop floor organizers turn 5S from a poster into a system. See what to print, which materials hold up, and how to design for real use.
Embedding Magnets and Hardware in 3D Prints
Embedding magnets in 3D prints adds function and clean assembly. Learn pocket sizing, pause-and-insert steps, and design rules that work in FDM.