
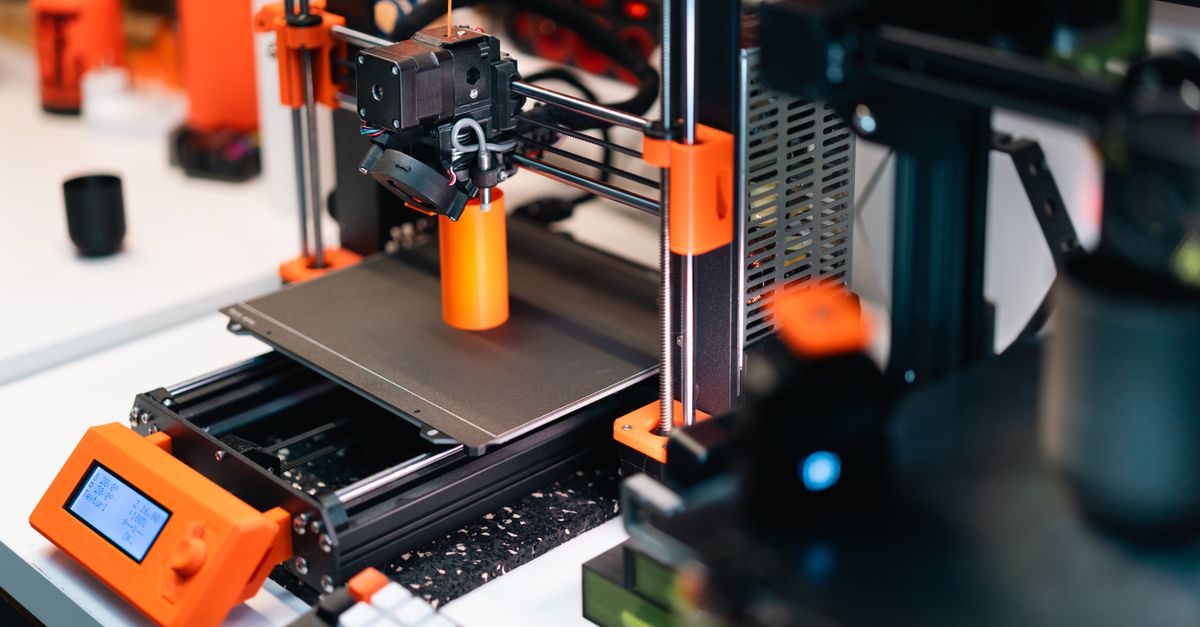
Photo by Jakub Zerdzicki on Pexels
Embedding Magnets and Hardware in 3D Prints

Plastic does a lot of jobs well, but it is not magnetic, it does not conduct, and it does not resist thread wear on its own. Embedding magnets in 3D prints, along with nuts, bearings, and steel plates, closes those gaps. It lets a printed part behave like a purpose-built assembly without a mold or a machining step.
FDM printing is unusually good at this. Because the part is built layer by layer, we can leave a cavity, drop in a piece of hardware, and let the printer seal it over. This guide covers how that works, how to size the pockets, and where the approach gets risky.
Why Embed Hardware Instead of Gluing It On?
Embedded hardware is captured by geometry, not adhesive. A magnet glued to a surface can peel off, shift, or break the bond over time. A magnet sealed inside a pocket is held by plastic on every side. It cannot walk out, and the plastic protects it from chips and corrosion.
The printed surface becomes the finish. A thin layer of plastic over a magnet gives a clean face with no visible fastener, which matters for enclosures, signage, display pieces, and anything a customer will handle. For ideas on finishing that outer face, see our post on 3D print finishing standards.
Alignment is built in. The pocket positions the magnet or nut to the accuracy of the print, so every part in a batch has the hardware in the same place. That repeatability is hard to get when someone is gluing hardware by hand.
Common things businesses embed include:
- Neodymium disc and block magnets for removable lids, modular fixtures, and display panels
- Hex and square nuts for bolt-on mounting points
- Steel washers or plates as magnetic targets, so only one side of a joint needs a magnet
- Bearings and bushings for rotating parts
- Steel shot, washers, or bar stock as ballast for bases and awards
How Do You Embed Magnets in 3D Prints?
There are two main methods, and the right one depends on the design and the quantity.
Method 1: Pause and Insert
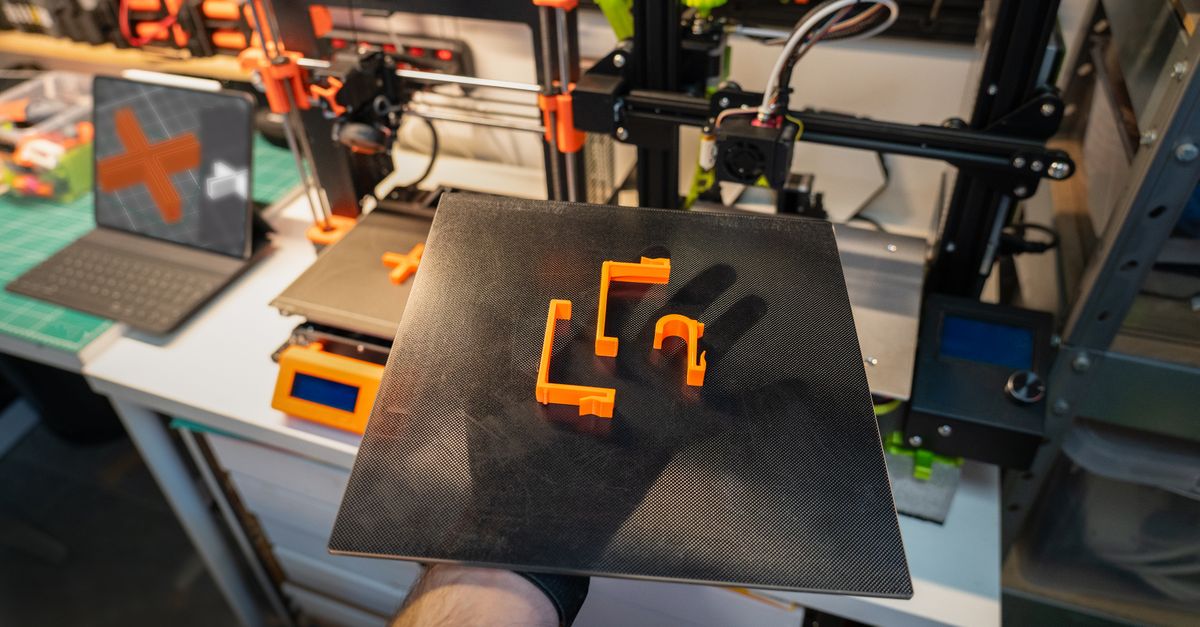
The printer is paused at a specific layer, with the pocket open at the top. Someone places the magnet, and the print resumes. The printer then bridges over the magnet and builds the cover.
This gives the cleanest result because the magnet is fully enclosed and the part needs no post-assembly. The tradeoff is labor. Someone has to be at the machine at the right moment, which is fine for prototypes and small runs but adds up fast in larger batches.
Method 2: Press-Fit or Side-Loaded Pockets
The pocket is designed with an opening, either on the surface or through a side slot, and the magnet is pressed in after printing. A small amount of adhesive or a plastic plug can lock it in place. This removes the need to pause the print, which makes it better for production runs. It does give up the fully sealed look unless the opening is hidden.
How Do You Size the Pockets?
Getting the pocket dimensions right is where most first attempts succeed or fail.
Add clearance to the nominal size. FDM holes tend to print slightly undersized, and plastic needs room to accommodate real-world variation. As a starting point, add roughly 0.1 to 0.2 mm to the diameter of a round magnet for a pocket you will drop it into during a pause. For a press-fit pocket, start closer to 0.0 to 0.1 mm of clearance and test. Our guide to 3D printing tolerances explains what to expect from FDM, and the same logic applies to hardware pockets.
Make the pocket depth match the hardware. Aim for the magnet to sit just below the surface of the layer where printing resumes. If a magnet stands even slightly proud, the nozzle can strike it as it moves across the part, which can knock the magnet loose, scrape the nozzle, or ruin the print.
Think about the cover layer. The plastic over a magnet is a thin wall, and it directly reduces holding force because magnetic pull drops quickly with distance. Covers in the range of 0.4 to 0.8 mm are common. Thinner covers hold better but can print poorly or look uneven. Prototype the joint and test the actual pull before committing to a design.
Account for bridging. The printer has to span the open pocket to seal it. Small pockets bridge fine, but larger ones can sag. Designing the pocket as a simple shape, and orienting the part so the cover prints cleanly, helps a lot. Our posts on support structures and part orientation cover the related tradeoffs.
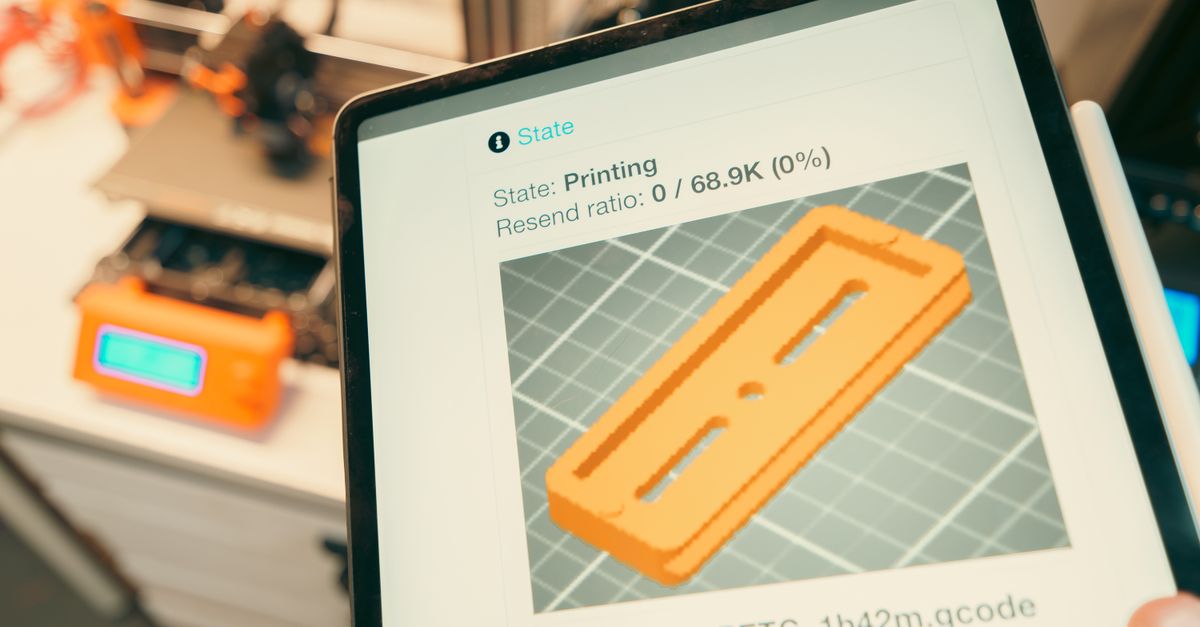
Photo by Jakub Zerdzicki on Pexels
What About Nuts, Bearings, and Other Hardware?
Captured nuts. A hex nut trap lets a bolt thread into a steel nut instead of directly into plastic. For an M3 nut, which is about 5.5 mm across flats and roughly 2.4 mm thick, the trap is usually drawn slightly larger than those dimensions. A side-loaded slot is a popular choice because the nut slides in after printing and no pause is needed. This approach gives much better thread life than tapping plastic, especially for parts that get assembled and disassembled repeatedly. If you want a different approach to threads, we also cover heat-set inserts.
Bearings. A standard 608 skate-style bearing is 22 mm outside diameter and 7 mm wide. A printed seat sized for a light press fit can hold it securely. Because FDM seats can be slightly oval, many designers add a small relief or finish the bore after printing. Keeping a flange or retaining lip on one side stops the bearing from sliding through.
Steel plates and washers. Embedding a flat steel washer is a low-cost way to create a magnetic target. This is useful when you want a lid or panel to attach magnetically, but only one half of the joint needs a magnet.
Ballast. Awards, desk pieces, and lightweight bases often feel cheap because they have no weight. Cavities filled with steel washers or shot add heft and make the object feel substantial. This is worth considering for corporate awards and promotional products.
What Can Go Wrong?
Heat. Standard neodymium magnets begin to lose strength at elevated temperatures, with typical grades rated for roughly 80 degrees C, and PLA itself starts softening around 55 to 60 degrees C. If a part will live in a hot vehicle, near a motor, or in a sunny window, PETG or another higher-temperature material is the safer choice, and the hardware choice should match. Our material comparison of PLA, PETG, and ABS covers the differences.
Magnet orientation. It is easy to insert a magnet with the wrong polarity, and in a pause-and-insert workflow there is no fixing it once the cover is printed. For multi-magnet designs, define a polarity convention, mark it on the drawing, and check it with a reference magnet before inserting.
Brittle magnets. Neodymium magnets are strong but can chip or shatter if they snap together. Press-fit pockets that require force can crack a magnet. Test with a few samples before sizing a full run.
Corrosion and moisture. Uncoated steel hardware can rust, especially if a part is outdoors or near water. If that applies, choose stainless or coated hardware and see our notes on waterproofing 3D prints.
Stress concentration. A pocket removes material and adds sharp internal corners. If a part is loaded around the hardware, rounding corners and adding wall thickness around the pocket helps prevent cracks. Wall count and infill matter here, which we explain in infill vs walls.
Does This Work for Production Runs?
It can, with planning. For prototypes, pause-and-insert is simple and flexible. For small-batch production, the better question is whether the extra handling step is worth it. A side-loaded or press-fit design usually scales more cleanly because the insertion happens after printing, where it can be done at a bench with a simple fixture. For repeated assembly steps, a printed jig that holds the part and guides the hardware can speed things up, a use we discuss in fixtures and jigs for manufacturing teams.
It also pays to prototype the joint early. Print a few test coupons with different clearances and cover thicknesses, measure the actual fit and pull force, and lock in dimensions before you scale. That is exactly what rapid prototyping is good for, and it costs far less than finding a problem after 200 parts are done.
Design Checklist for Embedded Hardware
- Pick the hardware first, then design the pocket around its real measured dimensions
- Add 0.1 to 0.2 mm of clearance for drop-in pockets and test press fits on samples
- Keep inserted hardware below the resume layer so the nozzle cannot hit it
- Choose a cover thickness that balances holding force and print quality
- Mark polarity and orientation clearly on drawings
- Match the plastic to the operating temperature
- Prefer side-loaded designs when quantity grows
- Prototype before committing to production
Start Your Project with CLT 3D Printing
We print in PLA and PETG every day and can also work with ABS, ASA, nylon, TPU, and carbon fiber composites when a job calls for them. If you have a part that needs magnets, captured nuts, bearings, or ballast, we can help you design the pockets, test the fit, and build it in the quantity you need. If you are starting from an idea instead of a file, our custom design services can take you from sketch to printable model.
Ready to talk through your part? Submit a custom order request and tell us what you are building.
Related Reading
Related Articles
3D Printed Molds and Casting Patterns
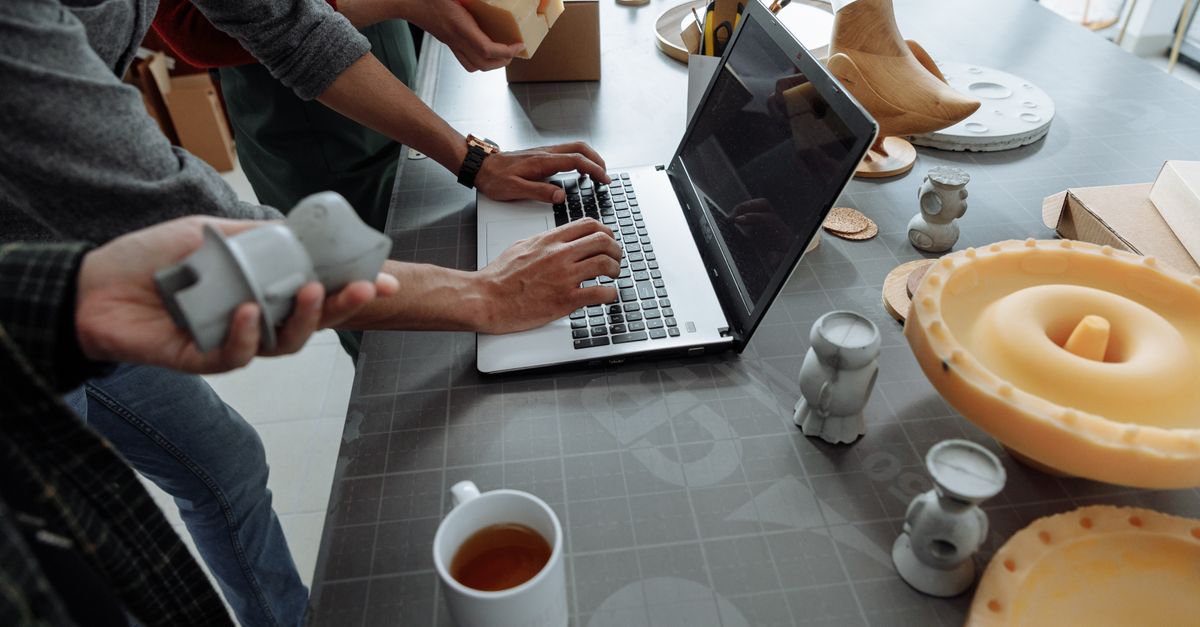
3D printed molds and casting patterns let you make silicone, urethane, and thermoformed parts without steel tooling. Here is what works and what does not.
3D Printed Shop Floor Organizers for 5S
3D printed shop floor organizers turn 5S from a poster into a system. See what to print, which materials hold up, and how to design for real use.
ESD-Safe 3D Printed Parts for Electronics
ESD-safe 3D printing explained: why standard PLA and PETG generate static, what dissipative filaments do, and where printed parts fit in electronics work.