Photo by Deybson Mallony on Pexels
Failed Print Recovery Guide for Business Projects

Failed Print Recovery Guide for Business Projects
Print failures happen. Whether you’re running prototypes in-house or working with a 3D printing service, understanding how to recover from failed prints can save your project timeline and budget. As businesses increasingly rely on 3D printing for rapid prototyping and small-batch production, having a recovery strategy becomes essential for maintaining project momentum.
At CLT 3D Printing, we’ve developed systematic approaches to minimize failures and recover quickly when they occur. This guide shares practical strategies that any business can implement to protect their 3D printing projects from costly delays.
Why Do 3D Prints Fail?
Understanding failure modes helps prevent them. FDM printing, while reliable for business applications, can encounter several common issues:
First layer adhesion problems account for roughly 40% of print failures. When that critical first layer doesn’t stick properly to the build plate, the entire print is compromised. Temperature variations, bed leveling issues, or contaminated surfaces typically cause these failures.
Support structure collapse becomes critical for complex geometries. Parts with overhangs exceeding 45 degrees need properly designed supports. When supports fail mid-print, the nozzle extrudes into open air, creating the dreaded “spaghetti monster” that wastes material and time.
Material-specific challenges vary by filament type. PLA prints reliably but can warp on larger parts if cooling isn’t uniform. PETG offers better strength but strings more readily, potentially causing nozzle jams on intricate designs. ABS requires controlled environments to prevent warping and layer separation.
Building Your Recovery Strategy
Document everything. Before starting any business-critical print, photograph your setup and note all parameters. Record nozzle temperature, bed temperature, print speed, layer height, and infill percentage. This documentation becomes invaluable when troubleshooting failures.
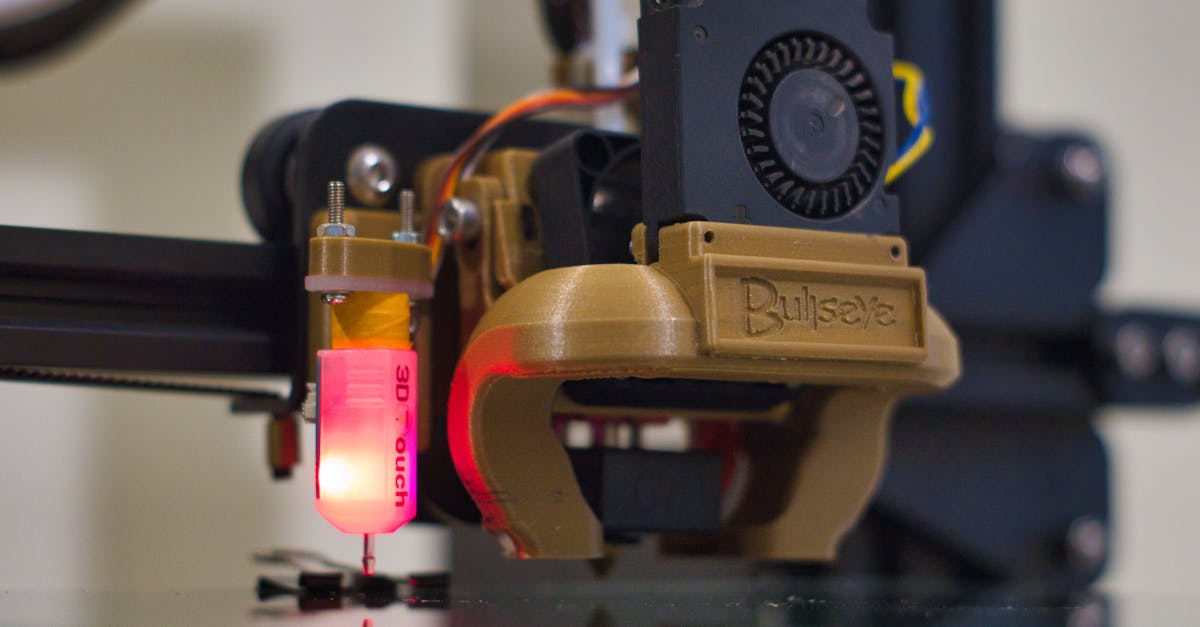
Photo by Kuba Grzybek on Pexels
Create a pre-print checklist that includes:
- Bed level verification (all four corners plus center)
- Nozzle cleaning confirmation
- Material condition check (moisture, tangles, diameter consistency)
- First layer test print for new materials or critical parts
- File integrity verification (no corrupted STLs or slicing errors)
Implement staged printing for large batches. Instead of printing 50 units simultaneously, run smaller groups of 5-10 pieces. This approach limits material waste if parameters need adjustment and allows for quality checks between batches.
Material-Specific Recovery Techniques
PLA Recovery Methods
PLA’s forgiving nature makes it ideal for prototyping, but failures still occur. When a PLA print fails partway through:
Measure and slice. If the failure happened cleanly (power outage, filament break), measure the successfully printed height. In your slicer, cut the model at that exact height and print only the remaining portion. Use cyanoacrylate adhesive or plastic welding to join the sections.
Cold pull recovery. For partial clogs causing under-extrusion, perform a cold pull at 90°C to clear debris without full disassembly. This technique often salvages prints showing early signs of extrusion issues.
PETG Recovery Methods
PETG’s tendency to string requires different approaches:
Mid-print intervention. If stringing becomes excessive, pause the print and clean the nozzle with brass wire. Reduce temperature by 5-10°C and increase retraction distance by 0.5-1mm before resuming.
Layer adhesion rescue. PETG sometimes develops poor layer adhesion mid-print due to moisture absorption. Pause and dry the filament at 65°C for 4-6 hours, then resume with slightly increased nozzle temperature (+5°C) to improve bonding.
ABS Recovery Methods
ABS demands environmental control, making recovery more complex:
Enclosure adjustments. If warping begins, immediately add temporary shields around the printer to reduce drafts. Apply ABS slurry to corners showing lift - this often re-adheres edges without stopping the print.
Emergency brim addition. For prints showing early edge lift, pause and manually add a brim using a 3D pen with matching ABS filament. This field modification can save prints that would otherwise fail from progressive warping.
Advanced Recovery Techniques
Print resume after power loss requires preparation. Enable power recovery in firmware if available, or use a UPS system for critical prints. Without these, mark the exact layer where printing stopped, home all axes carefully, and use G-code manipulation to restart from the correct layer.
Salvaging partial prints through creative redesign often works for prototypes. A failed part might serve perfectly for fit testing even if aesthetically imperfect. Consider whether the failed section affects function or just appearance.
Multi-part reconstruction transforms total failures into successes. Design your parts with natural break points where sections can be printed separately and assembled. This modular approach inherently builds in recovery options.
Preventing Cascade Failures
Monitor first layers religiously. The first 3-5 layers determine print success. Watch these layers complete before leaving any critical print unattended. Modern monitoring systems with failure detection can pause prints automatically, but visual inspection remains the gold standard.
Implement batch testing protocols. Before running production batches, print a single test unit with slightly aggressive settings (higher speed, lower temperatures). If it succeeds, your safety margins are good. If it fails, you’ve identified the limits without wasting material on multiple parts.
Create material profiles. Document successful print settings for each material-design combination. Our profiles include not just temperatures and speeds, but also seasonal adjustments - Charlotte’s humidity swings affect filament behavior significantly between January and July.
Working with Professional Services
When working with a 3D printing service like ours, recovery becomes collaborative:
Communicate failure history. If you’ve attempted printing a design internally, share what failed and why. This information helps us adjust parameters preemptively. A part that failed due to support issues might succeed with tree supports instead of traditional scaffolding.
Request staged delivery. For larger orders, ask for initial samples before full production. We regularly provide 1-2 test units for approval before printing entire batches, especially for small-batch production runs where consistency matters.
Understand service recovery policies. Professional services should have clear policies on handling failures. We reprint failed parts at no cost when the failure stems from our processes, and we work with clients to modify designs that prove problematic.
Cost-Benefit Analysis of Recovery Efforts
Calculate recovery ROI. Time spent recovering a failed print should align with the part’s value. A $5 prototype might not warrant 2 hours of recovery effort, while a critical rapid prototyping iteration for a client presentation certainly does.
Consider these factors:
- Material cost of the failed portion
- Time to reprint vs. time to recover
- Deadline pressure
- Learning value from the failure
- Impact on subsequent prints
Document failure patterns. Track which designs, materials, and conditions lead to failures. This data becomes invaluable for quoting future projects accurately and setting client expectations.
Building Resilient 3D Printing Workflows
Design for recovery from the start. Add registration marks or alignment features to your models that make sectioned printing easier. Include test towers or sample sections in your design files for parameter validation.
Maintain spare capacity. Whether in-house or through a service partnership, ensure you have backup printing capacity for critical deadlines. Geographic diversity also helps - while we serve the Charlotte metro area extensively, having backup options protects against local disruptions.
Create standard operating procedures for common failures. Document step-by-step recovery processes your team can follow without extensive 3D printing expertise. This democratizes recovery and reduces dependence on single experts.
Ready to Implement Better Recovery Strategies?
Failed prints don’t have to derail your projects. With proper planning, documentation, and recovery techniques, you can maintain project timelines even when things go wrong. Whether you’re managing prints internally or partnering with a service provider, these strategies help protect your investment in 3D printing technology.
Need help developing a robust 3D printing workflow for your business? Our team at CLT 3D Printing brings systematic approaches to both preventing and recovering from print failures. We serve businesses throughout the Charlotte region with reliable rapid prototyping and production services designed to keep your projects moving forward.
Start your project with confidence - Get a custom quote today
Related Resources
Related Articles
Waterproofing 3D Prints: Methods & Materials
Learn proven techniques to make FDM 3D printed parts waterproof for outdoor and liquid-contact applications.
3D Printing Validation Testing Guide
Master validation testing for 3D printed parts with dimensional checks, strength tests, and material verification methods.

Cost-Per-Part Calculator for 3D Printing
Master the hidden variables that determine your true 3D printing costs and make smarter sourcing decisions.