Photo by Jakub Zerdzicki on Pexels
Temperature Control Secrets for FDM Success

Temperature Control Secrets for FDM Success
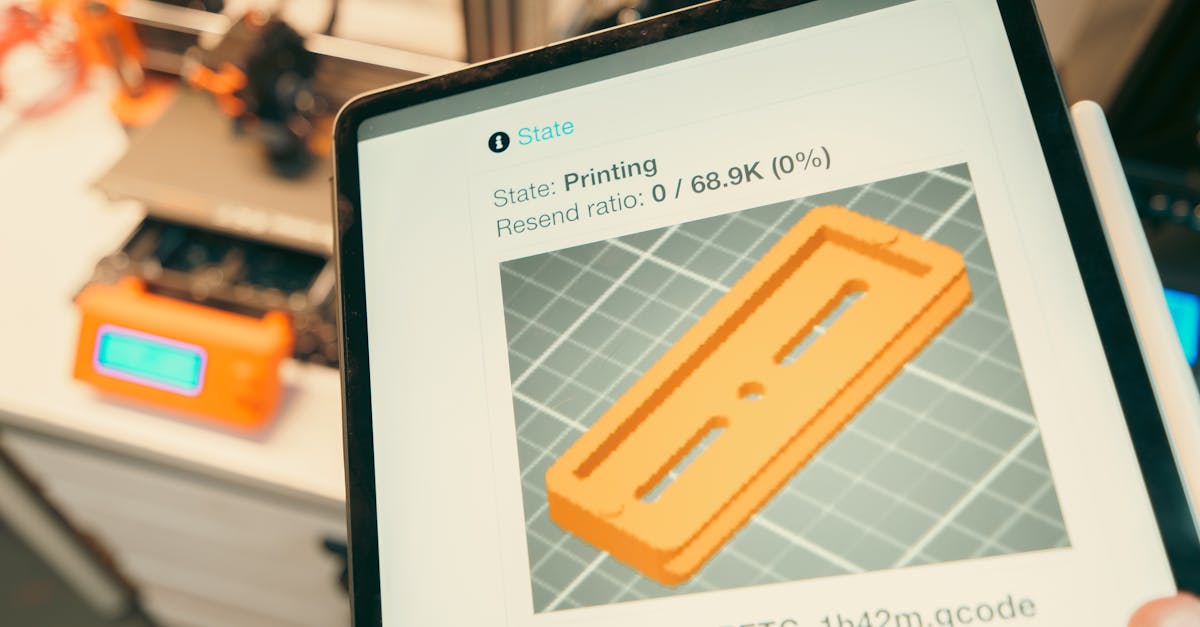
Temperature control makes or breaks FDM 3D printing success. While many businesses focus on design files and materials, the real differentiator between amateur prints and professional-grade parts often comes down to understanding thermal dynamics. Getting temperatures right affects everything from layer adhesion to dimensional accuracy - critical factors when you’re producing functional parts for real-world applications.
Why Temperature Matters More Than You Think
Poor temperature control causes 40% of FDM print failures. That statistic from industry surveys should grab any manufacturer’s attention. When you’re running production parts or prototypes on tight deadlines, failed prints mean lost time and materials. But temperature’s impact goes beyond just avoiding failures - it directly affects part strength, surface finish, and even long-term durability.
Think about temperature as controlling the flow and bonding of molten plastic. Too hot, and you get stringing, oozing, and dimensional inaccuracy. Too cold, and layers don’t bond properly, creating weak parts that delaminate under stress. The sweet spot varies not just by material, but also by part geometry, print speed, and even ambient conditions in your facility.
Material-Specific Temperature Guidelines
PLA Temperature Requirements
PLA remains the workhorse of FDM printing, and for good reason. Its relatively low printing temperatures make it forgiving and energy-efficient. We run most PLA prints at:
- Nozzle temperature: 190-220°C (optimal around 205°C)
- Bed temperature: 50-60°C
- Ambient temperature: Room temperature works fine
Lower temperatures (190-200°C) give better overhangs and finer details. Higher temperatures (210-220°C) improve layer adhesion for stronger parts. When businesses need display models or proof-of-concept prototypes, we often run cooler for aesthetics. For functional prototypes that need strength, we bump up the heat.
Photo by Jakub Zerdzicki on Pexels
PETG Temperature Settings
PETG bridges the gap between PLA’s ease of use and ABS’s durability. Its temperature requirements reflect this middle ground:
- Nozzle temperature: 230-250°C (optimal around 240°C)
- Bed temperature: 70-80°C
- Ambient temperature: Avoid drafts, but full enclosure not required
PETG’s transparency changes with temperature. Lower temperatures produce clearer parts, while higher temperatures create a more frosted appearance but stronger layer bonds. For manufacturing tooling and fixtures that need chemical resistance, we typically print PETG at the higher end of its range.
ABS Temperature Demands
ABS requires the most controlled environment of our standard materials:
- Nozzle temperature: 240-260°C (optimal around 250°C)
- Bed temperature: 90-110°C
- Ambient temperature: Enclosed chamber recommended, 40-60°C
ABS absolutely needs temperature stability. Without an enclosure, temperature fluctuations cause warping and layer separation. That’s why professional services maintain controlled print environments - something difficult to achieve with desktop printers in office settings.
Advanced Temperature Considerations
First Layer Temperature Strategy
The first layer needs different treatment than the rest. We typically print first layers 5-10°C hotter than subsequent layers. This ensures strong bed adhesion without sacrificing overall part quality. Modern slicing software makes this easy to configure, but knowing when and how much to adjust requires experience.
For example, when printing small batch production runs, consistent first layer adhesion becomes critical. A slightly hotter first layer eliminates the most common failure point while maintaining dimensional accuracy for the rest of the part.
Temperature Towers and Calibration
Temperature towers serve as the gold standard for dialing in new materials or validating print settings. These test prints vary temperature in steps (usually 5°C increments) to show exactly how a specific material behaves on your specific printer.
Every printer has its own personality. A temperature that works perfectly on one machine might produce poor results on another, even with identical models. That’s why professional services run regular calibration prints and maintain temperature profiles for each printer in their fleet.
Retraction Temperature Tuning
Retraction settings interact closely with temperature. Higher temperatures require longer retraction distances and faster retraction speeds to prevent oozing. The relationship follows a predictable pattern:
- PLA at 200°C: 4-6mm retraction at 40mm/s
- PLA at 215°C: 6-8mm retraction at 50mm/s
- PETG at 240°C: 3-5mm retraction at 30mm/s
- ABS at 250°C: 2-4mm retraction at 40mm/s
These starting points need adjustment based on specific part geometry and print speeds.
Environmental Temperature Control
Why Ambient Temperature Matters
Draft-free doesn’t mean temperature-controlled. Many businesses underestimate how much room temperature affects print quality. A 5°C swing in ambient temperature can cause visible layer lines, especially on larger parts. Professional print facilities maintain consistent temperatures year-round, something often overlooked when companies consider in-house printing.
Temperature gradients across a build plate create internal stresses. As lower layers cool while upper layers print hot, parts can warp or even crack. This becomes especially problematic for automotive and classic car restoration parts that need precise fitment.
Managing Heat Creep
Heat creep - when heat travels up the hot end and softens filament prematurely - plagues many FDM operations. Proper cooling fan operation prevents this, but fan settings must balance with temperature requirements:
- PLA: 100% cooling after first layer
- PETG: 30-50% cooling for most prints
- ABS: Minimal to no cooling fan
Active temperature monitoring catches heat creep early. Professional services use thermal cameras and temperature logging to identify problems before they ruin prints.
Temperature’s Effect on Part Properties
Layer Adhesion and Strength
Temperature directly correlates with layer adhesion strength. Testing by materials manufacturers shows:
- 10°C below optimal: 30% reduction in layer adhesion
- Optimal temperature: Maximum achievable strength
- 10°C above optimal: 10% reduction due to degradation
For drone and UAV parts that face mechanical stress, we optimize for layer adhesion over surface finish. This might mean accepting slightly more stringing in exchange for parts that won’t delaminate during flight.
Dimensional Accuracy
Higher temperatures increase thermal expansion. Parts printed hotter come out slightly larger than those printed cooler. For press-fit assemblies or parts with tight tolerances, we compensate in the design phase based on planned print temperatures.
Crystalline materials like PLA actually shrink as they cool and crystallize. This shrinkage varies with cooling rate, which depends on both print and ambient temperatures. Professional services account for this in their dimensional compensation strategies.
Surface Finish Quality
Temperature affects surface finish in multiple ways:
- Too hot: Glossy but potentially saggy overhangs
- Just right: Matte finish with crisp details
- Too cold: Rough texture with visible layer lines
For corporate awards and promotional products, surface finish often matters more than strength. We might run slightly cooler to achieve that perfect aesthetic.
Troubleshooting Temperature-Related Issues
Common Temperature Problems
Stringing indicates excessive temperature. Those spider-web-like strings between parts mean the nozzle temperature exceeds the material’s optimal range. Dropping 5-10°C usually solves it, though retraction tuning helps too.
Poor bed adhesion often traces to temperature. Before reaching for glue sticks or hairspray, verify both bed and nozzle temperatures match material requirements. First layer nozzle temperature especially affects adhesion.
Layer delamination screams “too cold.” When layers separate under minimal stress, insufficient temperature prevented proper bonding. This becomes obvious in post-processing when parts literally fall apart during support removal.
Advanced Diagnostics
Professional services use several tools for temperature diagnostics:
- Thermal imaging cameras reveal hot spots and cooling issues
- Data logging tracks temperature stability over long prints
- Test matrices optimize settings for specific part geometries
These tools help identify issues like inconsistent bed heating, failing thermistors, or inadequate hot end cooling before they impact production runs.
Getting Professional Results
Temperature control separates hobbyist printing from professional manufacturing. While anyone can download settings from the internet, optimizing temperatures for specific applications requires understanding the underlying physics and having proper equipment.
Professional FDM services provide value through expertise and equipment. Our temperature-controlled environment, calibrated machines, and materials knowledge ensure consistent results. Whether you need rapid prototyping with perfect aesthetics or functional parts with maximum strength, professional temperature management makes the difference.
Ready to Get Perfect Prints?
Temperature control expertise comes from printing thousands of parts across dozens of materials. Let CLT 3D Printing handle the thermal dynamics while you focus on your design and business goals. Upload your files or reach out to discuss your project at our custom order page.
Related Resources
Related Articles
Waterproofing 3D Prints: Methods & Materials
Learn proven techniques to make FDM 3D printed parts waterproof for outdoor and liquid-contact applications.
3D Printing Validation Testing Guide
Master validation testing for 3D printed parts with dimensional checks, strength tests, and material verification methods.

Cost-Per-Part Calculator for 3D Printing
Master the hidden variables that determine your true 3D printing costs and make smarter sourcing decisions.