
Photo by Jakub Zerdzicki on Pexels
Waterproofing 3D Prints: Methods & Materials

Waterproofing 3D Prints: Methods & Materials
FDM 3D printed parts aren’t naturally waterproof. The layer-by-layer construction creates microscopic gaps where water can seep through. But with the right materials and post-processing techniques, you can create parts that withstand rain, splashes, and even submersion. Whether you’re prototyping outdoor equipment, creating custom housings for electronics, or developing drone parts that fly in all weather conditions, understanding waterproofing options helps you design better products.
Why FDM Prints Leak
Layer lines are the enemy of waterproofing. Even at 0.1mm layer heights, FDM printing creates tiny channels between each layer where water can penetrate. Think of it like stacked paper - no matter how tightly compressed, there are still gaps between sheets.
The extrusion process itself contributes to porosity. As molten plastic exits the nozzle and bonds to the previous layer, it doesn’t create a perfect seal. Temperature variations, printing speed, and cooling rates all affect how well layers fuse together. This is why a 3D printed cup might hold water for a few minutes before developing wet spots on the outside.
Material choice matters from the start. PLA, our most common printing material, is biodegradable and slightly hygroscopic - it actually absorbs moisture from the air over time. This makes untreated PLA particularly unsuitable for long-term water exposure. PETG offers better water resistance due to its chemical structure, but still requires treatment for true waterproofing.
Print Settings for Water Resistance
Before any post-processing, optimize your print settings to minimize porosity. These adjustments create denser parts with fewer pathways for water infiltration.
Wall thickness makes the biggest difference. Instead of the standard 2-3 perimeter walls, increase to 4-6 walls (1.6-2.4mm with a 0.4mm nozzle). More walls mean more overlapping plastic paths, reducing straight-through gaps. For critical applications, we recommend 100% infill rather than the typical 20-40%. Yes, this uses more material and takes longer, but it eliminates internal voids where water could collect.
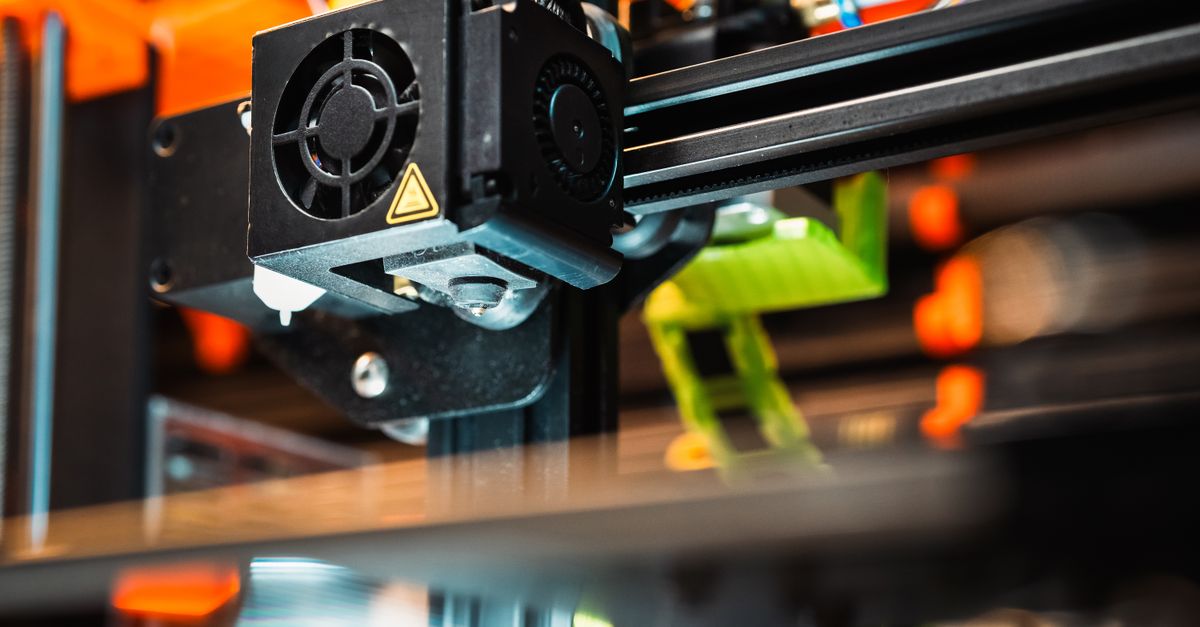
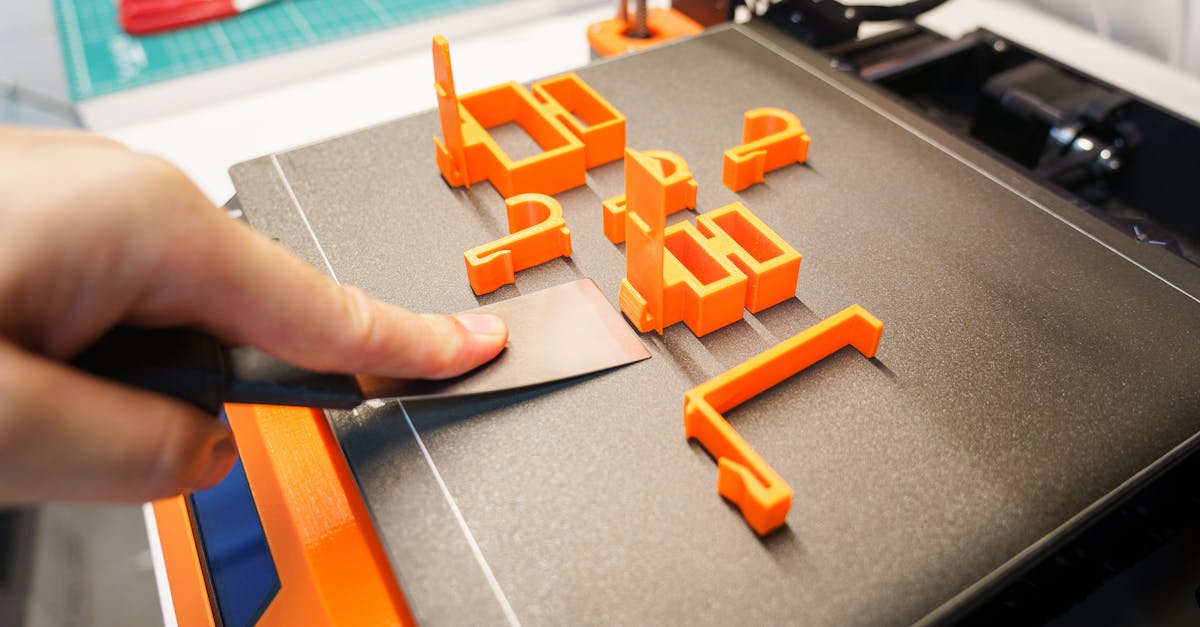
Photo by Jakub Zerdzicki on Pexels
Temperature tuning improves layer adhesion. Running 5-10°C hotter than standard (within the material’s safe range) helps layers fuse more completely. For PETG, this might mean printing at 250°C instead of 240°C. Higher temperatures keep the plastic molten slightly longer, allowing better bonding with the previous layer.
Slow down for better results. Reduce print speeds by 25-50% for waterproof parts. Slower speeds give each layer more time to bond and reduce the chance of gaps from insufficient material flow. We typically run waterproof parts at 30-40mm/s versus our standard 50-60mm/s.
Material Selection for Water Exposure
Not all thermoplastics handle water equally. Understanding material properties helps you choose the right filament before considering post-processing.
PETG stands out for water resistance. Its chemical structure resists water absorption better than PLA or ABS. PETG parts can handle outdoor exposure, making it ideal for automotive parts that face rain and road spray. The material’s slight flexibility also helps maintain seals under thermal expansion and contraction.
ASA excels in harsh environments. While we don’t run ASA daily, its UV resistance combined with low water absorption makes it excellent for permanent outdoor installations. ASA parts maintain their properties even after months of weather exposure. The material requires a heated chamber and good ventilation, but the results justify the extra setup for marine or outdoor applications.
Avoid standard PLA for water contact. Beyond its water absorption issues, PLA softens at relatively low temperatures (60°C). Hot water or summer sun can deform PLA parts. We’ve seen PLA outdoor fixtures warp just from sitting in a hot car. For temporary prototypes or indoor applications with minimal water exposure, treated PLA can work, but consider it a short-term solution.
Post-Processing Methods That Work
Raw prints need treatment to achieve true waterproofing. These methods range from simple spray coatings to multi-step processes for submarine-worthy seals.
Spray Coatings
Acrylic sealers offer the quickest solution. Products like Rust-Oleum Clear Sealer or Mod Podge spray create a waterproof film over the entire part. Apply 3-4 thin coats rather than one thick coat, allowing 30 minutes between applications. The key is building up layers without creating drips or pooling.
For best results, lightly sand the part with 220-grit sandpaper before the first coat. This creates better adhesion for the sealer. Total coating thickness reaches about 0.1mm, so factor this into your dimensional tolerances for tight-fitting parts.
Epoxy Resin Coating
Two-part epoxy resin creates the most durable waterproof barrier. Mix the resin according to manufacturer ratios (typically 1:1 or 2:1) and brush onto the part in thin layers. Unlike spray coatings, epoxy chemically bonds to many plastics and creates a thick, glass-like finish.
The process requires patience. Apply a thin initial coat to penetrate layer lines, then follow with 1-2 additional coats for full coverage. Each coat needs 24 hours to cure at room temperature. The final coating adds 0.2-0.5mm to part dimensions, significantly more than spray options.
Watch for air bubbles during application. Use a heat gun or propane torch (quickly, from 6+ inches away) to pop bubbles before the epoxy sets. For complex geometries, consider thinning the first coat with acetone (5-10% by volume) to improve flow into crevices.
Vapor Smoothing (ABS Only)
For ABS parts, acetone vapor smoothing creates waterproof surfaces by partially melting the outer layers. The process requires a sealed container, pure acetone, and careful timing. Place the part on a platform above a small pool of acetone, seal the container, and let vapors work for 10-30 minutes depending on part size.
Safety demands respect with this method. Work outdoors or under a fume hood, wear nitrile gloves, and keep ignition sources away. The results can be spectacular - glossy, sealed surfaces with no visible layer lines - but the process isn’t suitable for small-batch production due to time and safety requirements.
Testing Your Waterproofing
Never assume waterproofing worked without testing. Start with simple water exposure tests before deploying parts in critical applications.
The submersion test reveals most failures. Fill a container with water and fully submerge the part for 24 hours. Add a few drops of food coloring to make leaks more visible. Check for internal water accumulation, soft spots, or color bleeding through the material. Parts that pass 24-hour submersion typically handle rain and splashes indefinitely.
For pressurized applications, create a simple pressure test. Seal all openings except one, attach an air fitting, and pressurize to 2-3 PSI while submerged. Bubble streams indicate leak paths that need additional sealing. This method works particularly well for custom housings and enclosures.
Common Waterproofing Failures
Understanding why waterproofing fails helps you avoid costly mistakes.
Incomplete coverage tops the failure list. Missing spots during coating application, especially in corners and underhangs, creates entry points for water. Use multiple light sources when applying coatings to spot missed areas. Some shops add UV-reactive dye to clear coatings, then check coverage with a blacklight.
Mechanical stress cracks coatings over time. Rigid coatings on flexible parts develop micro-cracks with repeated flexing. For parts that bend or vibrate, choose flexible sealers or design rigid mounting points to minimize stress on coated areas.
Chemical incompatibility causes coating delamination. Not all coatings bond well with all plastics. Polyurethane coatings may peel off PETG, while some epoxies don’t adhere to PLA. Always test coating compatibility on a small sample before treating expensive parts.
When to Waterproof vs. Redesign
Sometimes the best waterproofing solution is avoiding the need entirely through smart design choices.
Design water channels and drip edges. Instead of fighting water infiltration, design parts to shed water naturally. Angled surfaces, drainage channels, and drip edges prevent water from pooling against sealed joints. This approach works particularly well for outdoor equipment housings and protective covers.
Consider multi-part assemblies with gaskets. Rather than waterproofing an entire complex part, design separate components with traditional rubber gasket seals between them. This method allows easy access for maintenance while maintaining water resistance. We often recommend this approach for prototype development where internal components need periodic access.
Evaluate total cost including post-processing. Waterproofing adds significant time and labor costs. For production runs over 50 units, consider whether injection molding might be more economical. The break-even point varies by part complexity, but factor in coating materials, labor time, and potential failure rates.
Making the Right Choice
Waterproofing FDM 3D printed parts opens up applications that would otherwise require expensive traditional manufacturing. From weather-resistant drone components to outdoor electronic enclosures, proper treatment transforms porous prints into durable, water-resistant products.
The key is matching the waterproofing method to your application requirements. Quick spray coatings work for light water exposure, while submarine-depth applications demand epoxy resin systems. By understanding both the possibilities and limitations, you can design parts that perform reliably in wet conditions while leveraging the speed and flexibility of 3D printing.
Ready to create waterproof prototypes or discuss material options for your water-exposed parts? Our Charlotte-based team understands the challenges of weather-resistant design. Start your project today and let’s develop parts that perform in any condition.
Related Resources
Related Articles
3D Printing Validation Testing Guide
Master validation testing for 3D printed parts with dimensional checks, strength tests, and material verification methods.

3D Printing Support Structures Explained
Master support structures in 3D printing to reduce costs and improve part quality for your business projects.
3D Printing Tolerances: What to Expect
Understanding dimensional tolerances in FDM 3D printing helps set realistic expectations for your parts.