Blog
Expert tips on materials, prototyping, and local 3D printing in Charlotte.
When 3D Printing Beats Traditional Manufacturing
Learn the specific scenarios where 3D printing delivers better results than injection molding, CNC machining, or casting.

Post-Processing 3D Prints Like a Pro
Master sanding, painting, and finishing techniques to transform raw 3D prints into professional-grade parts.
Spring Cleaning Your 3D Print Files
Organize your CAD files and 3D models for faster prototyping and smoother production runs.
Disclaimer Guide for 3D-Printed Parts
Learn what disclaimers to include when selling 3D-printed items to protect your business and set customer expectations.

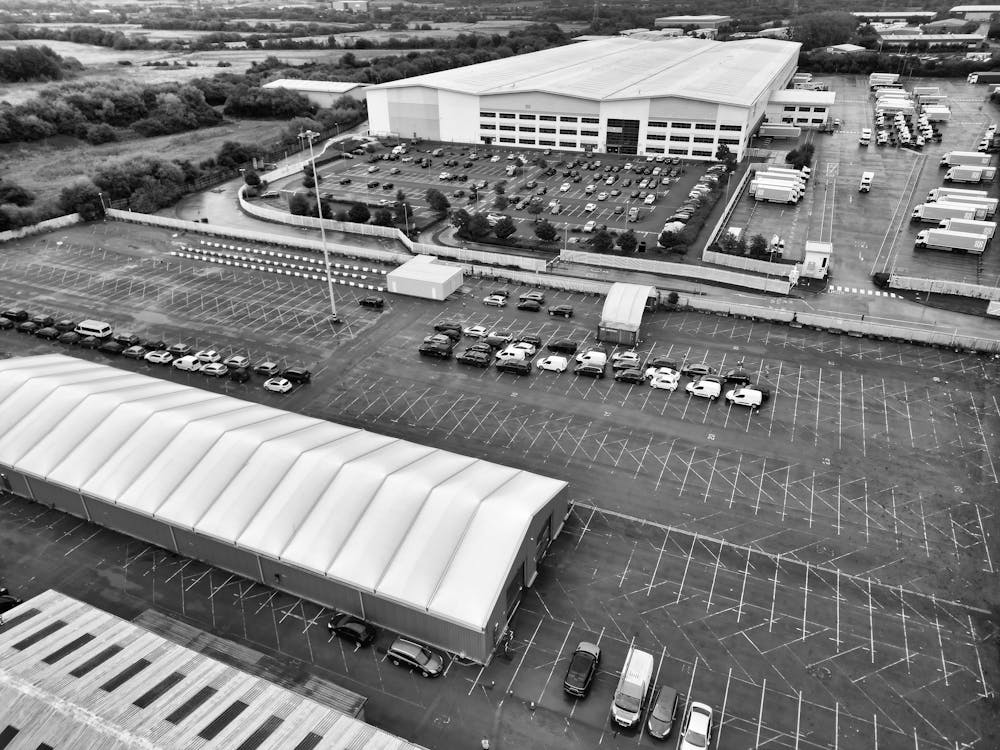
3D Printing Services in Mooresville, NC
Mooresville, North Carolina motorsports teams and manufacturers get local 3D printing from CLT 3D Printing. Serving Race City USA with same-day service for race shops, automotive suppliers, and marine fabricators along I-77.
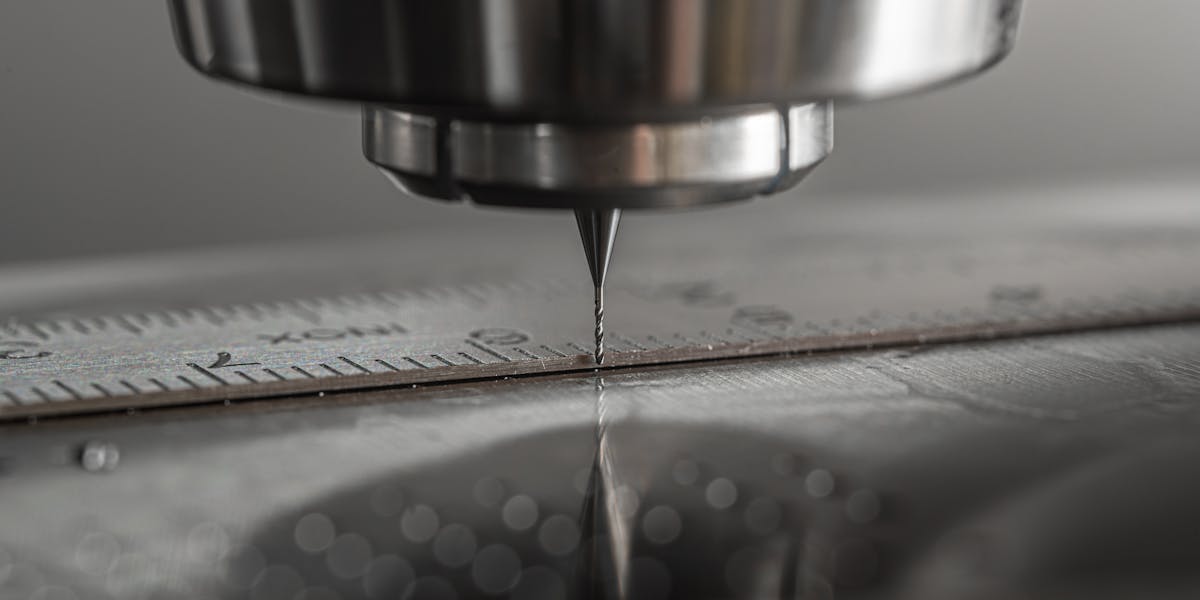
3D Printing vs CNC Machining: How to Choose
Understanding when 3D printing beats CNC machining for your parts can save thousands in production costs.

3D Printing Services in Matthews & Mint Hill, NC
Matthews and Mint Hill, North Carolina businesses get local 3D printing from CLT 3D Printing. Serving small businesses, manufacturers, and product developers in southeast Charlotte.

3D Printing Services in Concord & Kannapolis, NC
Concord and Kannapolis, North Carolina businesses get local 3D printing from CLT 3D Printing. Serving the I-85 corridor, motorsports shops, and manufacturing operations in Cabarrus County.

3D Printing in Ballantyne & South Charlotte
Ballantyne and South Charlotte businesses get local 3D printing services from CLT 3D Printing. Serving corporate offices, startups, and professional services firms in the Ballantyne area.

3D Printing Services in Cornelius, NC
Cornelius, North Carolina businesses get local 3D printing services from CLT 3D Printing. Serving tech companies, product development firms, and manufacturers on the south shore of Lake Norman.
3D Printing Services in Huntersville, NC
Huntersville, North Carolina businesses get fast, local 3D printing from CLT 3D Printing. Serving industrial parks, engineering firms, and manufacturers along the I-77 corridor.

Resin 3D Printing Guide: SLA and MSLA
Resin 3D printing delivers the highest detail and smoothest surface finish of any 3D printing process. Learn about resin types, applications, and when SLA printing is right for your Charlotte, NC project.

USA-Made 3D Printing in North Carolina
From government contracts to grant-funded projects, North Carolina businesses need USA-made manufacturing partners. CLT 3D Printing delivers American-made 3D printed parts from Charlotte, NC.
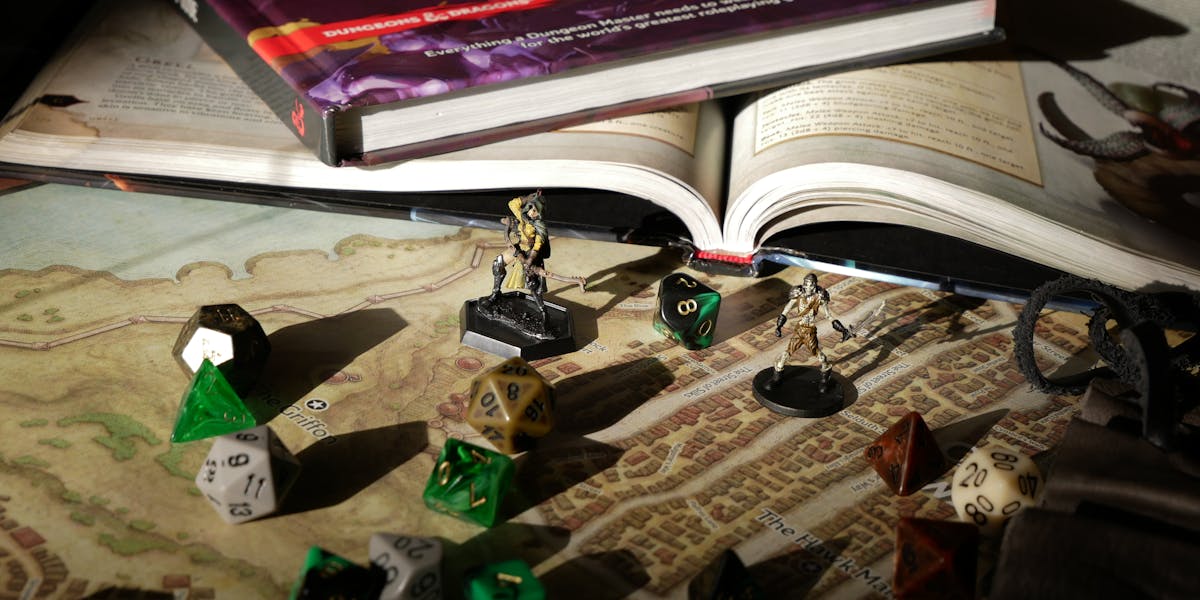
Tabletop Gaming Terrain and Miniatures
Charlotte, NC's tabletop gaming community is growing fast. Here's how 3D printing is helping local players, game stores, and event organizers level up their tables.

Custom 3D-Printed Corporate Awards
Generic trophies don't reflect your brand. Charlotte, NC companies are turning to custom 3D-printed awards that are unique, on-brand, and ready in days.
TPU 3D Printing Guide: Flexible Parts
TPU is the go-to flexible 3D printing material for gaskets, grips, bumpers, and wearables. Learn about TPU properties, Shore hardness, and when to choose it for your Charlotte, NC project.

3D Printing for Classic Car Restoration
When NOS parts are extinct and reproductions don't exist, 3D printing gives Charlotte, NC and Lake Norman classic car owners a way to restore their vehicles with precision-fit replacements.

Custom 3D-Printed Drone and UAV Parts
Off-the-shelf drone parts limit your build. Custom 3D-printed components from your Charlotte, NC partner offer faster repairs, optimized performance, and designs tailored to your exact mission.

Nylon 3D Printing Guide: Industrial Strength
Nylon delivers the highest strength-to-weight ratio of any FDM filament. Learn about Nylon 3D printing properties, applications, and when it's the right material for your Charlotte, NC project.

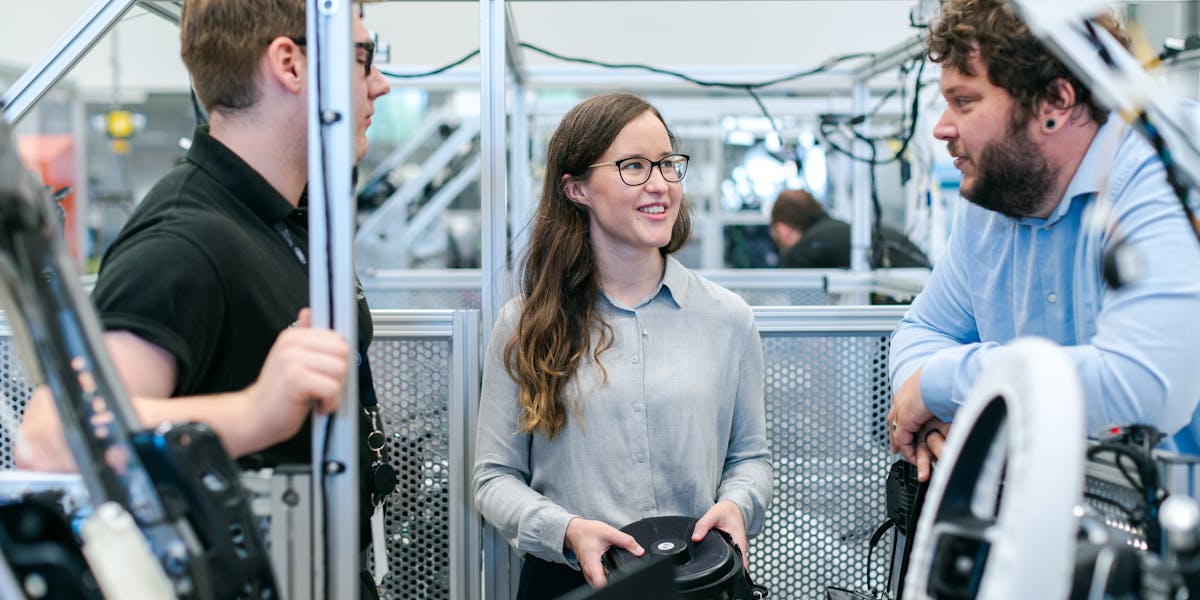
How Charlotte Startups Use 3D Printing
Charlotte, NC's startup ecosystem is booming, and 3D printing is helping local founders compress product development timelines from months to weeks.

3D Printing Services for Lake Norman, NC Businesses
Lake Norman, North Carolina manufacturers and businesses get same-day 3D printing service from CLT 3D Printing. Serving Mooresville, Cornelius, Davidson, Huntersville, and Statesville, NC.
ROI of 3D-Printed Manufacturing Tooling
3D-printed tooling delivers 70-90% cost savings over machined alternatives. Here's how Charlotte, NC area manufacturers are calculating and achieving real ROI.
Fixtures and Jigs for Manufacturing Teams
3D-printed fixtures and jigs are changing how manufacturing floors operate. Learn how Charlotte, NC area manufacturers are using custom tooling to improve efficiency and reduce costs.

ASA 3D Printing Guide: UV-Resistant Parts
ASA is the best 3D printing material for outdoor and UV-exposed applications. Learn about ASA properties, how it compares to ABS, and when to choose it for your Charlotte, NC project.
3D Printing vs Injection Molding for Small Batches
Trying to decide between 3D printing and injection molding for your next production run? Here's a real cost breakdown to help Charlotte, NC businesses make the right call.

ABS 3D Printing Guide: Heat-Resistant Parts
ABS is the go-to 3D printing material for high-temperature, impact-resistant parts. Learn about ABS properties, applications, and when it's the right choice for your project in Charlotte, NC.
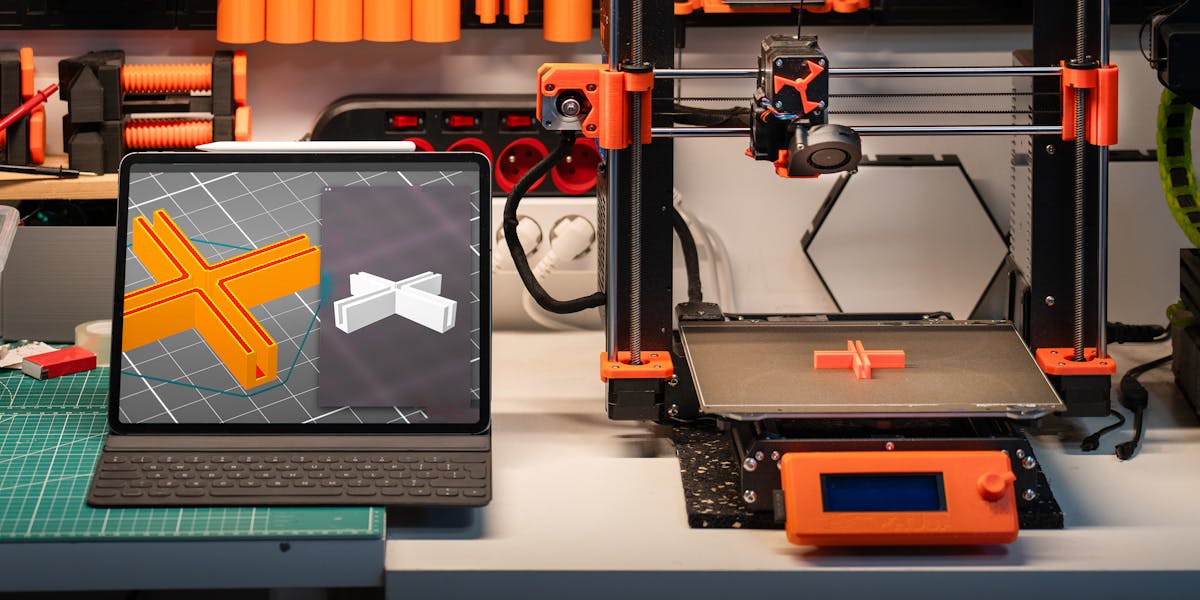
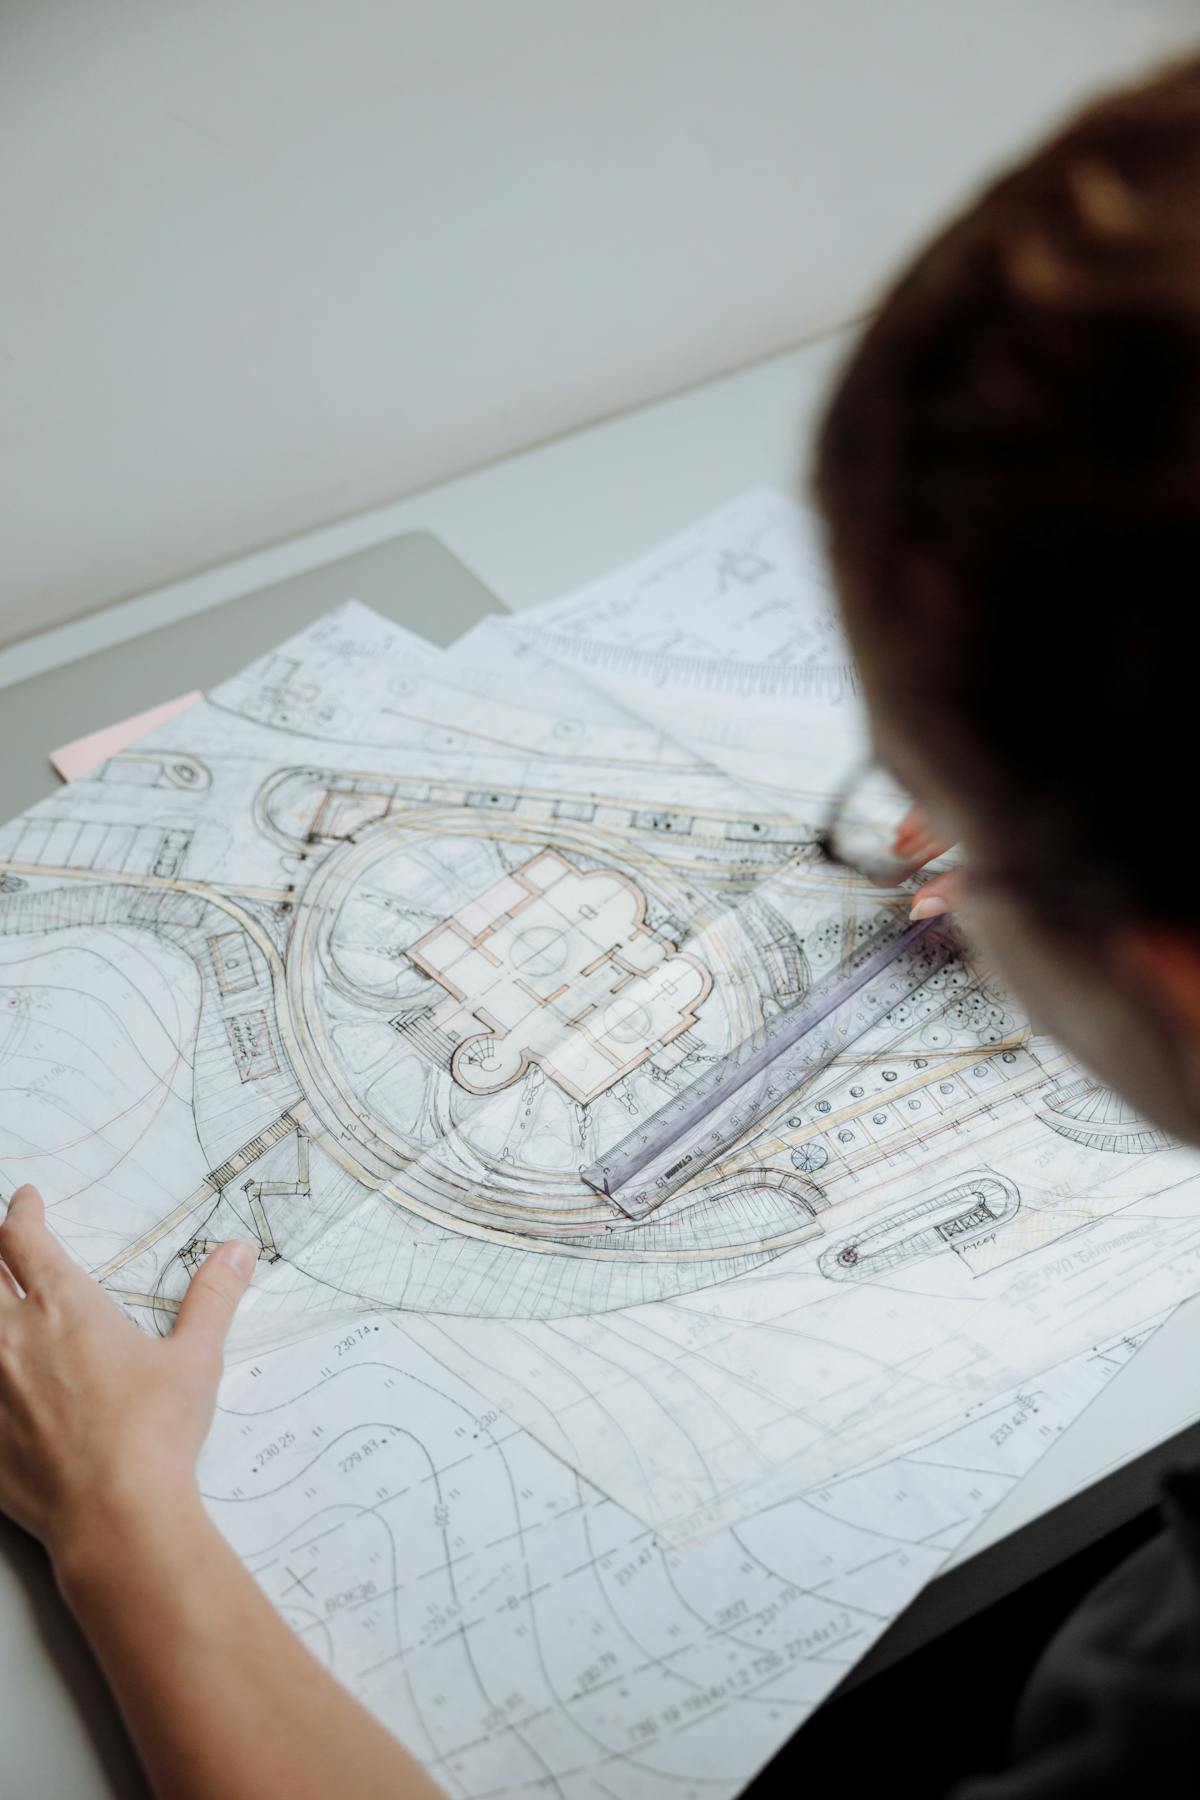
No CAD File? Our Design Services Help
You don't need a CAD file to get started with 3D printing. Serving the Charlotte, NC area, here's how we take your idea from napkin sketch to finished part, step by step.

How to Reduce Risk with Local 3D Printing
Shipping parts across the country adds time, cost, and risk to your project. Here's how working with a local Charlotte, NC 3D printing partner helps you iterate faster and catch problems earlier.

PETG 3D Printing Guide: Engineering Filament
PETG combines strength, chemical resistance, and printability into one versatile filament. Learn why PETG is our most recommended material for functional parts at CLT 3D Printing in Charlotte, NC.
Rapid Prototyping in Charlotte, NC
Learn how Charlotte, NC businesses can avoid the most common rapid prototyping mistakes and get parts faster with a local 3D printing partner.

PLA 3D Printing Guide: Properties and Uses
PLA is the most popular 3D printing filament for prototypes and display models. Learn about PLA properties, strengths, limitations, and when to choose it for your Charlotte, NC 3D printing project.

3D Printing in Charlotte, NC
Charlotte, North Carolina businesses are choosing local 3D printing for faster turnaround, hands-on support, and no shipping delays. Here's what makes CLT 3D Printing the Charlotte area's go-to partner.
PLA vs PETG vs ABS: Materials Compared
Choosing the right 3D printing material can make or break your project. Here's a practical comparison of the most popular options for functional parts, from your local Charlotte, NC 3D printing partner.