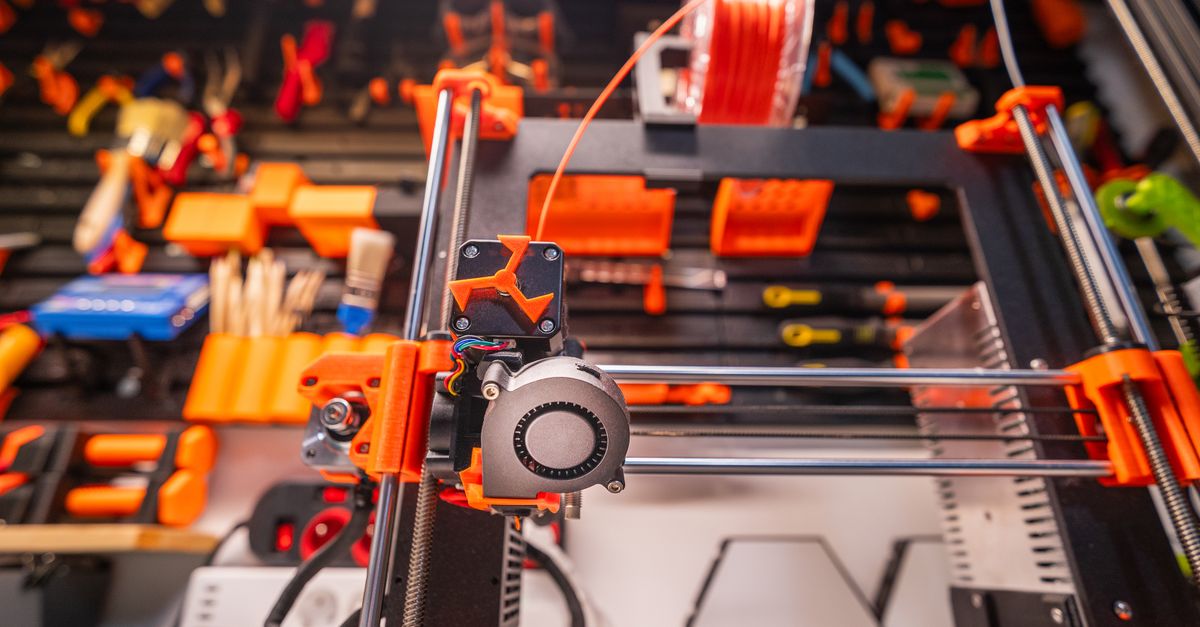
Photo by Jakub Zerdzicki on Pexels
What Drives 3D Printing Lead Times

When a project has a deadline, the first question is usually “how fast can you get it to me?” The honest answer is that 3D printing lead times depend on a handful of variables, and print time is only one of them. Businesses that understand the full chain, from file review to delivery, tend to hit their dates more often and pay less for rush handling.
This guide breaks down where time goes in an FDM project, which factors you control, and which ones are simply physics.
What actually determines how long a 3D print takes?
Part volume and height set the baseline. FDM builds a part by depositing plastic in layers, so the amount of material and the number of layers drive machine time. A small bracket might print in an hour or two. A large enclosure or a tall housing can run 20 hours or more on a single machine. Taller parts take longer because the printer has to complete more layers, even if the part is thin.
Layer height is a direct trade-off. Cutting layer height in half roughly doubles the number of layers. A 0.28 mm layer finishes much faster than a 0.12 mm layer, but the surface is rougher. For functional parts that will be hidden inside an assembly, coarser layers are often the smart call. We cover that balance in detail in Print Speed vs Quality: Finding Your Sweet Spot.
Walls and infill add up. Every extra perimeter and every additional percentage point of infill adds deposition time. A part printed at 15% infill with three walls prints noticeably faster than the same part at 50% infill with five walls. Strength does not scale linearly with infill, so over-specifying it wastes time without much benefit. Infill vs Walls: What Makes 3D Prints Strong explains where the real strength comes from.
Nozzle size matters too. A 0.6 mm nozzle moves a lot more plastic per minute than a 0.4 mm nozzle, at the cost of fine detail. Parts that do not need crisp small features can often be printed faster with a larger nozzle.
Why does queue time matter as much as print time?
A part that takes six hours to print does not necessarily ship six hours after you approve it. Every service operates a finite number of machines, and your job takes its place alongside other work.
Machine availability is the hidden variable. If every printer is running a 30-hour job, a new rush request has to wait or displace something else. This is why scheduling flexibility, even a day or two, can have an outsized effect on cost and delivery.
Material changes take time. Switching a machine from PLA to PETG, or from one color to another, involves purging the old filament, adjusting temperatures, and often verifying first-layer adhesion. Jobs that share a material and color can be grouped on the same machines, which keeps things moving. That is one reason a service that runs mostly PLA and PETG can usually start those jobs faster than specialty materials.
Parallel printing is how production scales. One printer can only make one build at a time, but a farm can run many in parallel. For repeat orders, lead time is a function of how many machines can be dedicated to your job. If you are curious how this works behind the scenes, see Print Farm Management: Scaling Production.
How do material choices affect your schedule?
Material selection affects lead time in ways people often overlook.
Common materials move fastest. PLA and PETG are what we run every day, so stock is on hand, settings are dialed in, and failure rates are low. If your application allows either one, you will generally get the shortest path to finished parts. Our PLA vs PETG vs ABS comparison can help you decide whether you really need something more demanding.
Specialty materials add steps. ABS, ASA, nylon, and carbon fiber composites can print well, but they ask more of the process. Nylon is hygroscopic and needs thorough drying before printing. ABS and ASA benefit from an enclosed, temperature-stable build chamber and are more prone to warping on large flat parts. Carbon fiber filled filaments are abrasive and need hardened nozzles. We can print these materials, but they are not our daily drivers, so confirm availability and timing before you commit to a deadline.
Color requests can shift the timeline. Standard colors in PLA and PETG are easy. A specific brand color match or an unusual shade may require sourcing, which adds shipping time on the supply side.
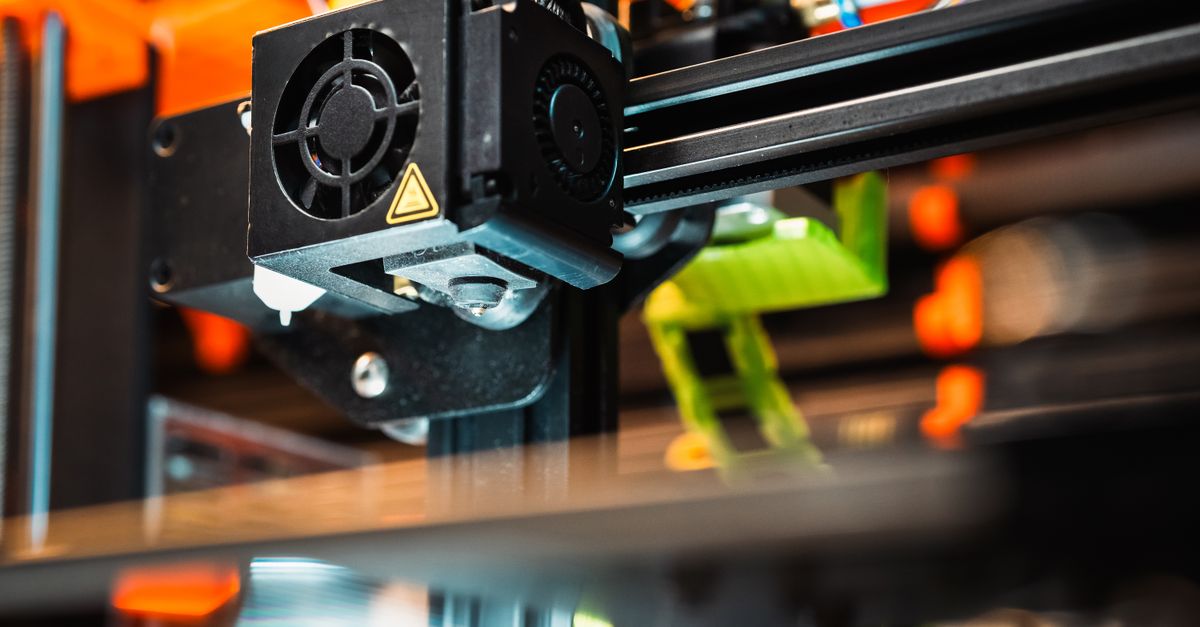
Photo by Jakub Zerdzicki on Pexels
Where does post-processing add time?
Print time and delivery time are not the same thing. Finishing work can take as long as the print itself, and sometimes longer.
Support removal and cleanup. Parts with overhangs need supports, and removing them cleanly takes hands-on time. Good orientation can reduce supports dramatically. See 3D Printing Support Structures Explained for how this plays out.
Sanding, priming, and painting. A cosmetic part that needs filler, primer, and paint involves multiple steps with cure time between them. Rushing paint cure leads to defects, so this time cannot be compressed much. If appearance matters, read 3D Print Finishing Standards for Pro Results so you can specify the right level up front instead of discovering it late.
Hardware installation. Threaded inserts, magnets, and pressed-in bearings all add assembly steps. Heat-set inserts are fast per part, but across a batch of hundreds they become a real line item on the schedule.
Inspection. Dimensional checks, especially on tight-tolerance features, take time per part. For a first run, a formal first-article inspection is worth building into the timeline rather than skipping.
What slows projects down before printing even starts?
In our experience of how these projects generally unfold, the biggest delays often happen before a printer is loaded.
Incomplete or unclear files. A mesh with holes, a STEP file missing a revision, or a drawing with conflicting dimensions all trigger back-and-forth. Sending clean, final files in a suitable format saves days. Our guide to 3D printing file formats covers what to send and when.
Missing requirements. If the quote request does not mention operating temperature, load, finish, quantity, or tolerance, someone has to ask. The 3D Printing RFQ Checklist lists the details that let a service quote accurately on the first pass.
No CAD file at all. If you have a sketch, a broken part, or just an idea, design time becomes part of the schedule. Our custom design services exist for exactly this situation, but plan for iteration and review before the first print.
Slow approvals. Waiting on a stakeholder to sign off on a prototype photo can cost more time than the print itself. Decide who approves and how quickly before the project kicks off.
How does lead time differ for one-offs versus batches?
One-off prototypes are fast but sequential. A single part can often go from approved file to finished piece quickly, especially in PLA or PETG. The trade-off is that iteration happens one cycle at a time. Rapid prototyping works best when you plan for two or three cycles, not one perfect shot.
Small batches scale with machine count. If one part takes 4 hours, a run of 100 takes roughly 400 machine-hours, and the calendar time depends on how many printers run it in parallel. This is why small-batch production needs honest conversations about quantity and deadline early. Batch pricing and timing are explored further in Batch Size Economics: The 3D Printing Advantage.
Approve a first article before releasing the full run. It feels slower, but finding a fit problem after 200 parts are printed is far more costly than spending a day verifying part one.
Practical ways to shorten your lead time
- Send final, clean files. Resolve revisions before you submit, and include units and a target material.
- Be flexible on color. Standard PLA and PETG colors avoid sourcing delays.
- Match settings to function. Use coarser layers and moderate infill on hidden or non-cosmetic parts.
- Design for orientation. Parts that print flat with minimal supports finish faster and need less cleanup. Part Orientation Magic goes deeper on this.
- Specify only the finish you need. Raw printed surfaces are fastest. Add finishing only where it matters.
- Give notice for large batches. Even a few days of lead warning lets a shop reserve machine time.
- Plan for iteration. Build one or two revision cycles into your project calendar.
- Choose local when the clock is tight. Shipping adds days. Working with a local shop in the Charlotte area means pickup or short-distance delivery along the I-77 and I-85 corridors, and faster in-person problem solving.
Planning around your deadline, not against it
The fastest projects are not the ones with the most rushed printing. They are the ones where files are ready, requirements are clear, materials are practical, and approvals happen quickly. If you know which levers affect lead time, you can make smart trade-offs instead of paying for urgency you did not need.
Ready to Plan Your Next Project?
If you have a deadline and want a realistic timeline, send us your files and requirements. We will review your parts, recommend settings and materials that fit your schedule, and give you an honest estimate. Start your request at /custom-order.
Related Reading
Related Articles
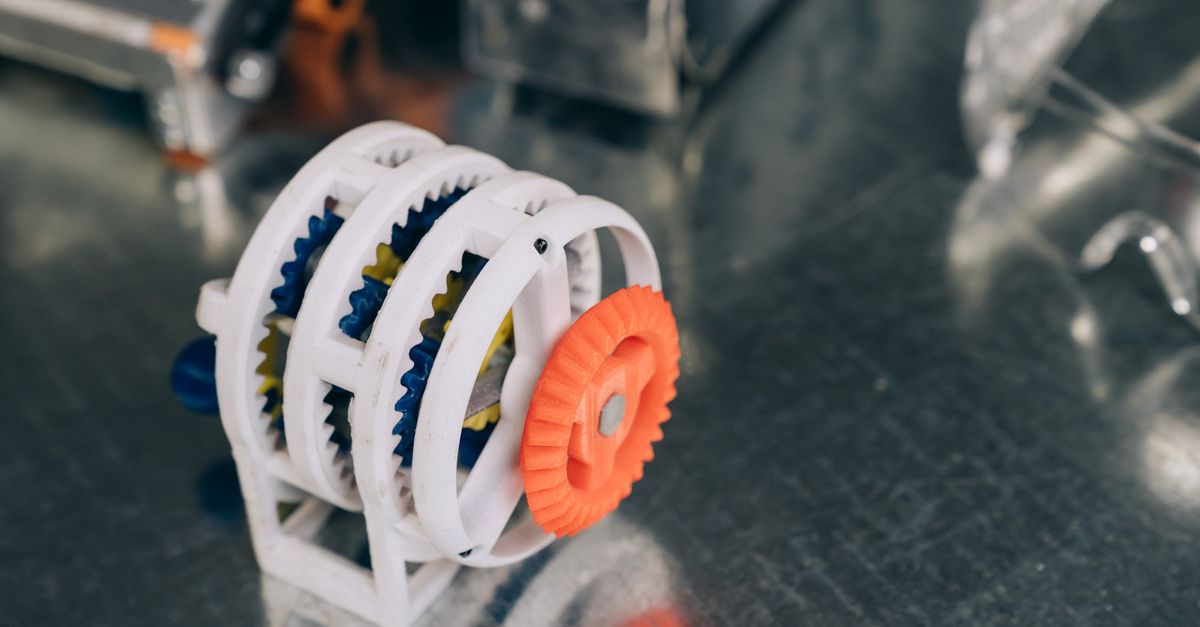
3D Printed Gears and Wear Parts That Last
3D printed gears can work well in the right applications. Learn which materials, tooth designs, and print settings help FDM gears and wear parts hold up.
What Automaker 3D Printing Means for Small Shops
Automaker 3D printing is cutting tooling cost and lead time. Here is what small and mid-size Charlotte manufacturers can borrow from that playbook.
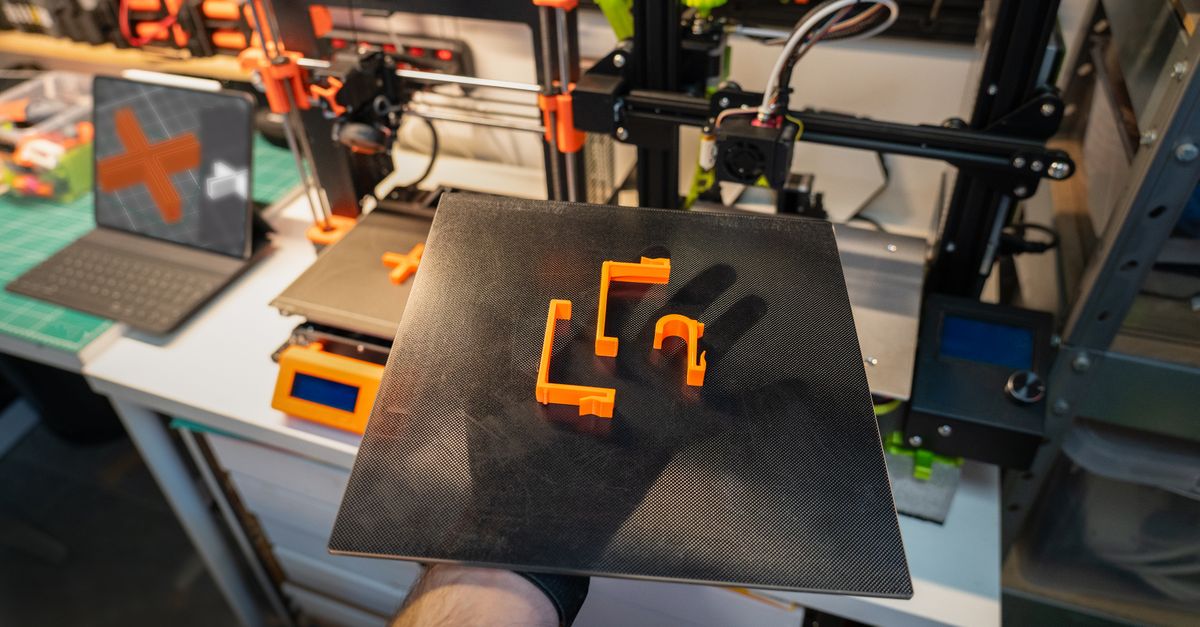
Splitting Large Parts for FDM Printing
Large 3D printed parts don't have to fit the build plate. Learn how to split, join, and finish oversized designs without losing strength or appearance.