
Photo by Jakub Zerdzicki on Pexels
3D Printing Farm Layout Design Guide

3D Printing Farm Layout Design Guide
Setting up a 3D printing operation requires more than just buying printers. Whether you’re establishing your first production cell or scaling to a full print farm, the physical layout determines your operational efficiency, throughput, and even print quality. This guide walks through the critical decisions for optimizing your 3D printing workspace.
Why Print Farm Layout Matters More Than You Think
Poor layout kills productivity. A printer placed too far from post-processing stations adds minutes to every part. Multiply that by hundreds of parts per month, and you’re losing hours of productive time. Beyond efficiency, layout affects print quality through temperature control, material storage proximity, and vibration isolation.
The difference between a well-designed print farm and a haphazard setup can mean 30-40% variance in actual throughput. That’s the difference between profitable small-batch production and struggling to meet deadlines.
Space Requirements: Planning Your Footprint
Start with realistic space calculations. Each FDM printer needs more than just its physical footprint:
- Printer footprint: Add 18-24 inches on all sides for access
- Material storage: 2-4 square feet per printer for immediate-use filament
- Work surface: 4-6 square feet adjacent to each printer for part removal
- Clearance above: Minimum 24 inches for filament feed paths
For a basic 4-printer cell, plan on 150-200 square feet minimum. This includes printer space, a central workstation, and basic material storage. Scale linearly - an 8-printer operation needs roughly 300-400 square feet.
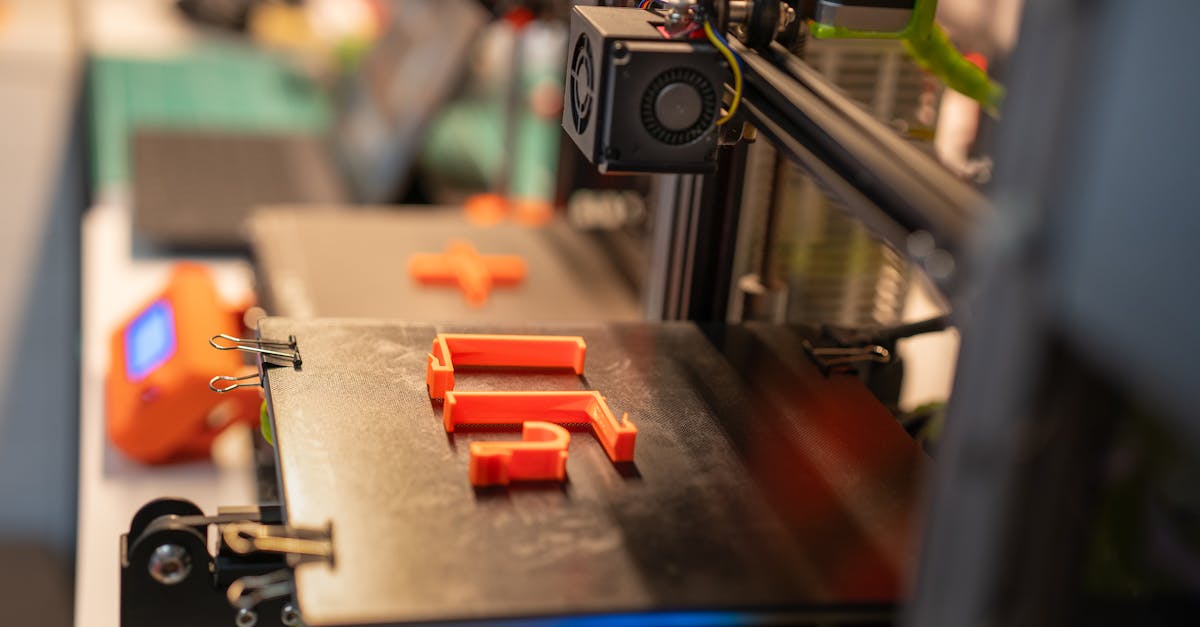
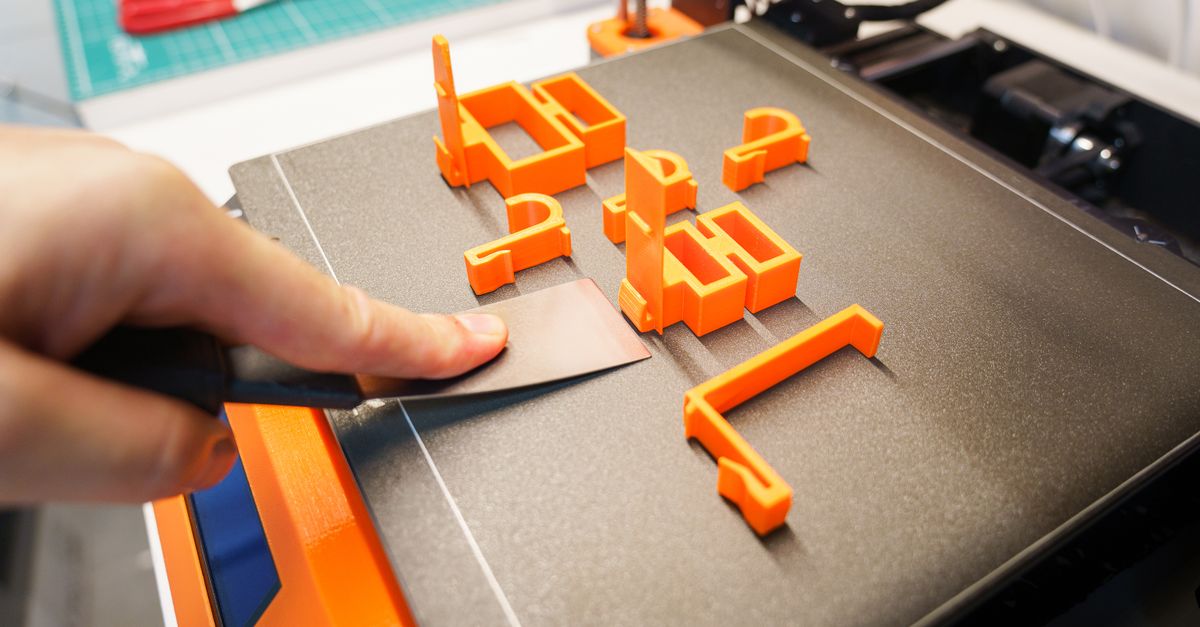
Photo by Jakub Zerdzicki on Pexels
Workflow Zones: Creating Efficient Production Flow
Zone-based layouts prevent bottlenecks. Organize your space into distinct functional areas:
Material Prep Zone
Store incoming filament in a climate-controlled area. We keep our PLA and PETG in sealed containers with desiccant - proper material storage directly impacts print quality. Position this zone near printer clusters but away from high-traffic paths.
Active Printing Zone
Group printers by material type when possible. Running all PETG jobs on one bank of printers simplifies temperature management and reduces changeover time. Leave 3-foot aisles between printer rows for comfortable access during operation.
Post-Processing Station
Centralize part removal tools, support removal equipment, and initial quality inspection. Position between printers and finishing area to create natural workflow progression. Include task lighting - you’ll catch defects faster with proper illumination.
Finishing and QC Area
Dedicate space for final part preparation, measurement tools, and packaging. This zone should connect directly to shipping/delivery areas. For businesses doing corporate awards, this area might include assembly stations for multi-part products.
Environmental Control: The Hidden Success Factor
Temperature and humidity control separate professional operations from hobbyist setups. FDM printing performs best within specific environmental ranges:
Temperature stability matters most. Maintain 68-75°F (20-24°C) consistently. Temperature swings cause dimensional changes in both filament and printed parts. Position printers away from HVAC vents, exterior walls, and windows.
Humidity threatens everything. Keep relative humidity between 20-50%. Higher humidity degrades filament quality and causes stringing, especially with hygroscopic materials like Nylon and TPU. Consider commercial dehumidifiers for production environments.
Airflow requires balance. You need ventilation for ABS printing but excessive airflow causes warping. Use targeted exhaust systems rather than general room ventilation. Position exhaust pickup points above printers, not at bed level.
Printer Clustering Strategies
How you group printers impacts both efficiency and maintenance:
By Material Type
Dedicate printer groups to specific materials. This reduces contamination risk and simplifies temperature management. We run primary clusters for PLA and PETG, with separate stations for occasional ABS work.
By Part Size
Group large-format printers separately from standard units. This allows optimized workflow paths - small parts move quickly through post-processing while large parts may need extended cooling time.
By Production Priority
Reserve 1-2 printers for rapid prototyping and urgent jobs. Position these units closest to design workstations for quick iteration cycles. Production printers can occupy less accessible positions since they run longer unattended cycles.
Power and Data Infrastructure
Underestimating power needs causes problems. Each printer draws 100-350 watts during operation, but startup surges can triple that. Plan circuits accordingly:
- Dedicate 20-amp circuits for every 3-4 printers
- Install surge protection at circuit level
- Consider UPS systems for critical jobs
- Separate lighting circuits from printer circuits
Network infrastructure proves equally critical. Reliable connectivity enables remote monitoring and print farm management. Run ethernet to each printer station - WiFi introduces unnecessary failure points in production environments.
Safety and Compliance Considerations
Professional print farms must address safety beyond hobbyist concerns:
Fire suppression planning. 3D printers are thermal devices. Install appropriate extinguishers (Class C for electrical fires) within 30 feet of all printers. Consider automatic suppression systems for larger operations.
Ventilation compliance. When printing ABS or other materials with emissions, ensure your ventilation system meets local air quality requirements. Document your setup - some customers require proof of proper ventilation for their jobs.
Emergency shutoffs. Install easily accessible power disconnects for printer banks. During thermal runaway events, seconds matter. Position shutoffs at room entrances and near workstations.
Material Handling and Storage Systems
Efficient material flow prevents production delays. Design storage systems that support your workflow:
Active Storage
Keep 2-3 spools per printer in humidity-controlled storage at each station. Use clear containers for visual inventory management. Label everything - material type, color, and date opened.
Bulk Storage
Centralize unopened filament in a climate-controlled room or cabinet. First-in-first-out rotation prevents material aging. Track inventory levels to avoid surprise stockouts during small-batch production runs.
Material Transport
Use carts designed for filament transport between storage and printers. Dropping a spool introduces contamination and can cause layer adhesion failures. Protect your material investment with proper handling equipment.
Scaling Considerations: Planning for Growth
Build flexibility into your initial layout. Business growth means adding printers, but poor initial planning makes expansion difficult:
- Leave 30% floor space uncommitted for future expansion
- Install excess electrical capacity during initial buildout
- Use modular workbenches that reconfigure easily
- Plan network drops for 2x your initial printer count
Consider how drone parts manufacturers started with 2-3 printers and scaled to 20+ units as demand grew. Their success depended on layouts that accommodated growth without complete reorganization.
Quality Control Integration
Your layout should support quality verification throughout the production process:
Position inspection stations with good lighting between printing and finishing zones. Include measurement tools, go/no-go gauges, and documentation systems. For first-article inspection, create a dedicated verification station with calibrated instruments.
Build traceability into your physical flow. Use job travelers that move with parts. Include barcode scanning points at zone transitions for digital tracking of complex jobs.
Common Layout Mistakes to Avoid
Cramming printers together seems space-efficient but isn’t. Tight spacing makes maintenance difficult and increases heat concentration. When one printer needs service, you shouldn’t have to shut down adjacent units.
Ignoring vertical space wastes opportunity. Use wall-mounted storage for tools and supplies. Install overhead filament feeds to free work surface area. Just maintain accessibility - you’ll need regular access to everything you mount high.
Separating design from production creates delays. Position at least one design workstation with sight lines to the print farm. Quick visual checks during prototyping iterations save hours of back-and-forth travel.
Start Your Production Journey
Thoughtful layout design transforms 3D printing from a capability into a competitive advantage. Whether you’re planning your first production cell or optimizing existing operations, proper layout multiplies the effectiveness of every other investment.
Ready to leverage professional 3D printing without the infrastructure investment? Our Charlotte facility maintains optimized production layouts for everything from single prototypes to thousand-unit runs. Start your project today and let our refined workflows deliver your parts on time and on specification.
Related Resources
Related Articles
Waterproofing 3D Prints: Methods & Materials
Learn proven techniques to make FDM 3D printed parts waterproof for outdoor and liquid-contact applications.
3D Printing Validation Testing Guide
Master validation testing for 3D printed parts with dimensional checks, strength tests, and material verification methods.

Cost-Per-Part Calculator for 3D Printing
Master the hidden variables that determine your true 3D printing costs and make smarter sourcing decisions.